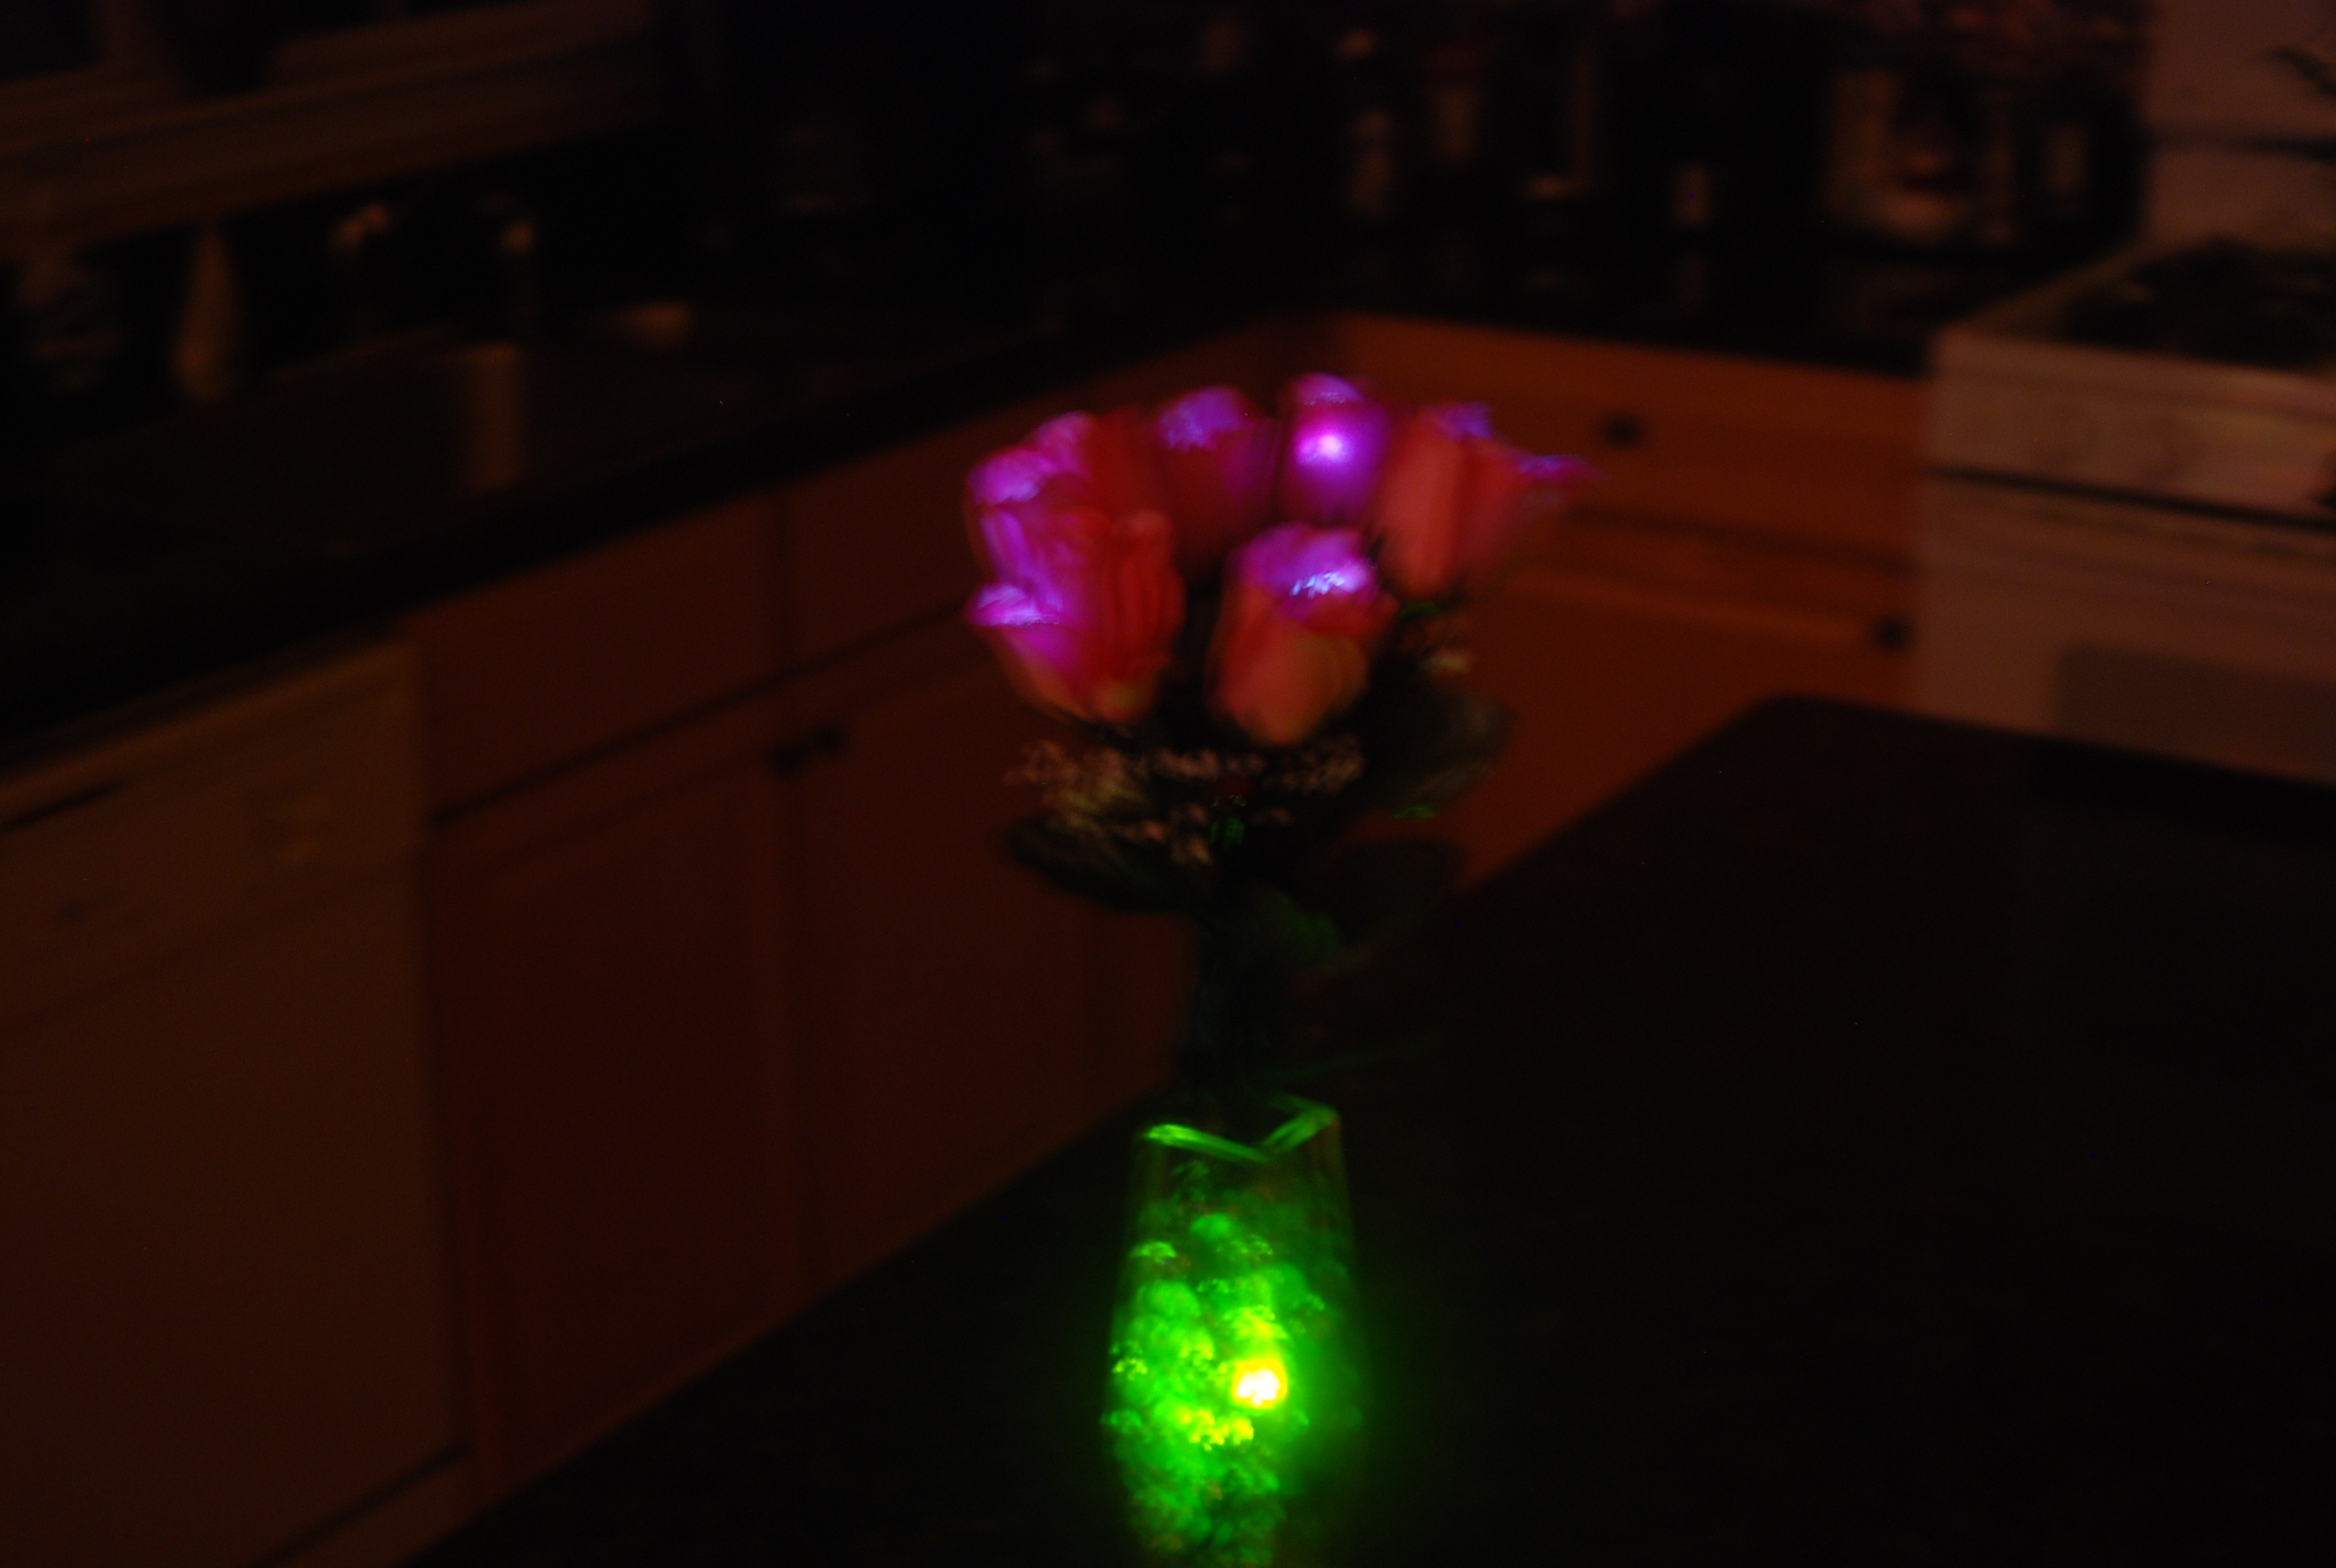
I wanted to make something useful that used LEDs without having to program an Arduino or anything like that. The idea I came up with was to add LEDs to artificial flowers and make it decorative by putting them in a clear vase filled with clear/opaque glass marbles. The addition of more LEDs inside the vase would make it even better.
The day I decided on the project I went to Joann Fabrics and bought the flowers, vase, and glass marbles. The flowers are made of a very tough cloth, not silk or plastic. I did not have the LEDs I needed so I ordered them from Amazon. For my power source I decided to use two 1.5 V AAA batteries in series to make 3 volts. I did not want to have to add resistors to each LED so I ordered them with a rating of 3.0 – 3.2 volts. 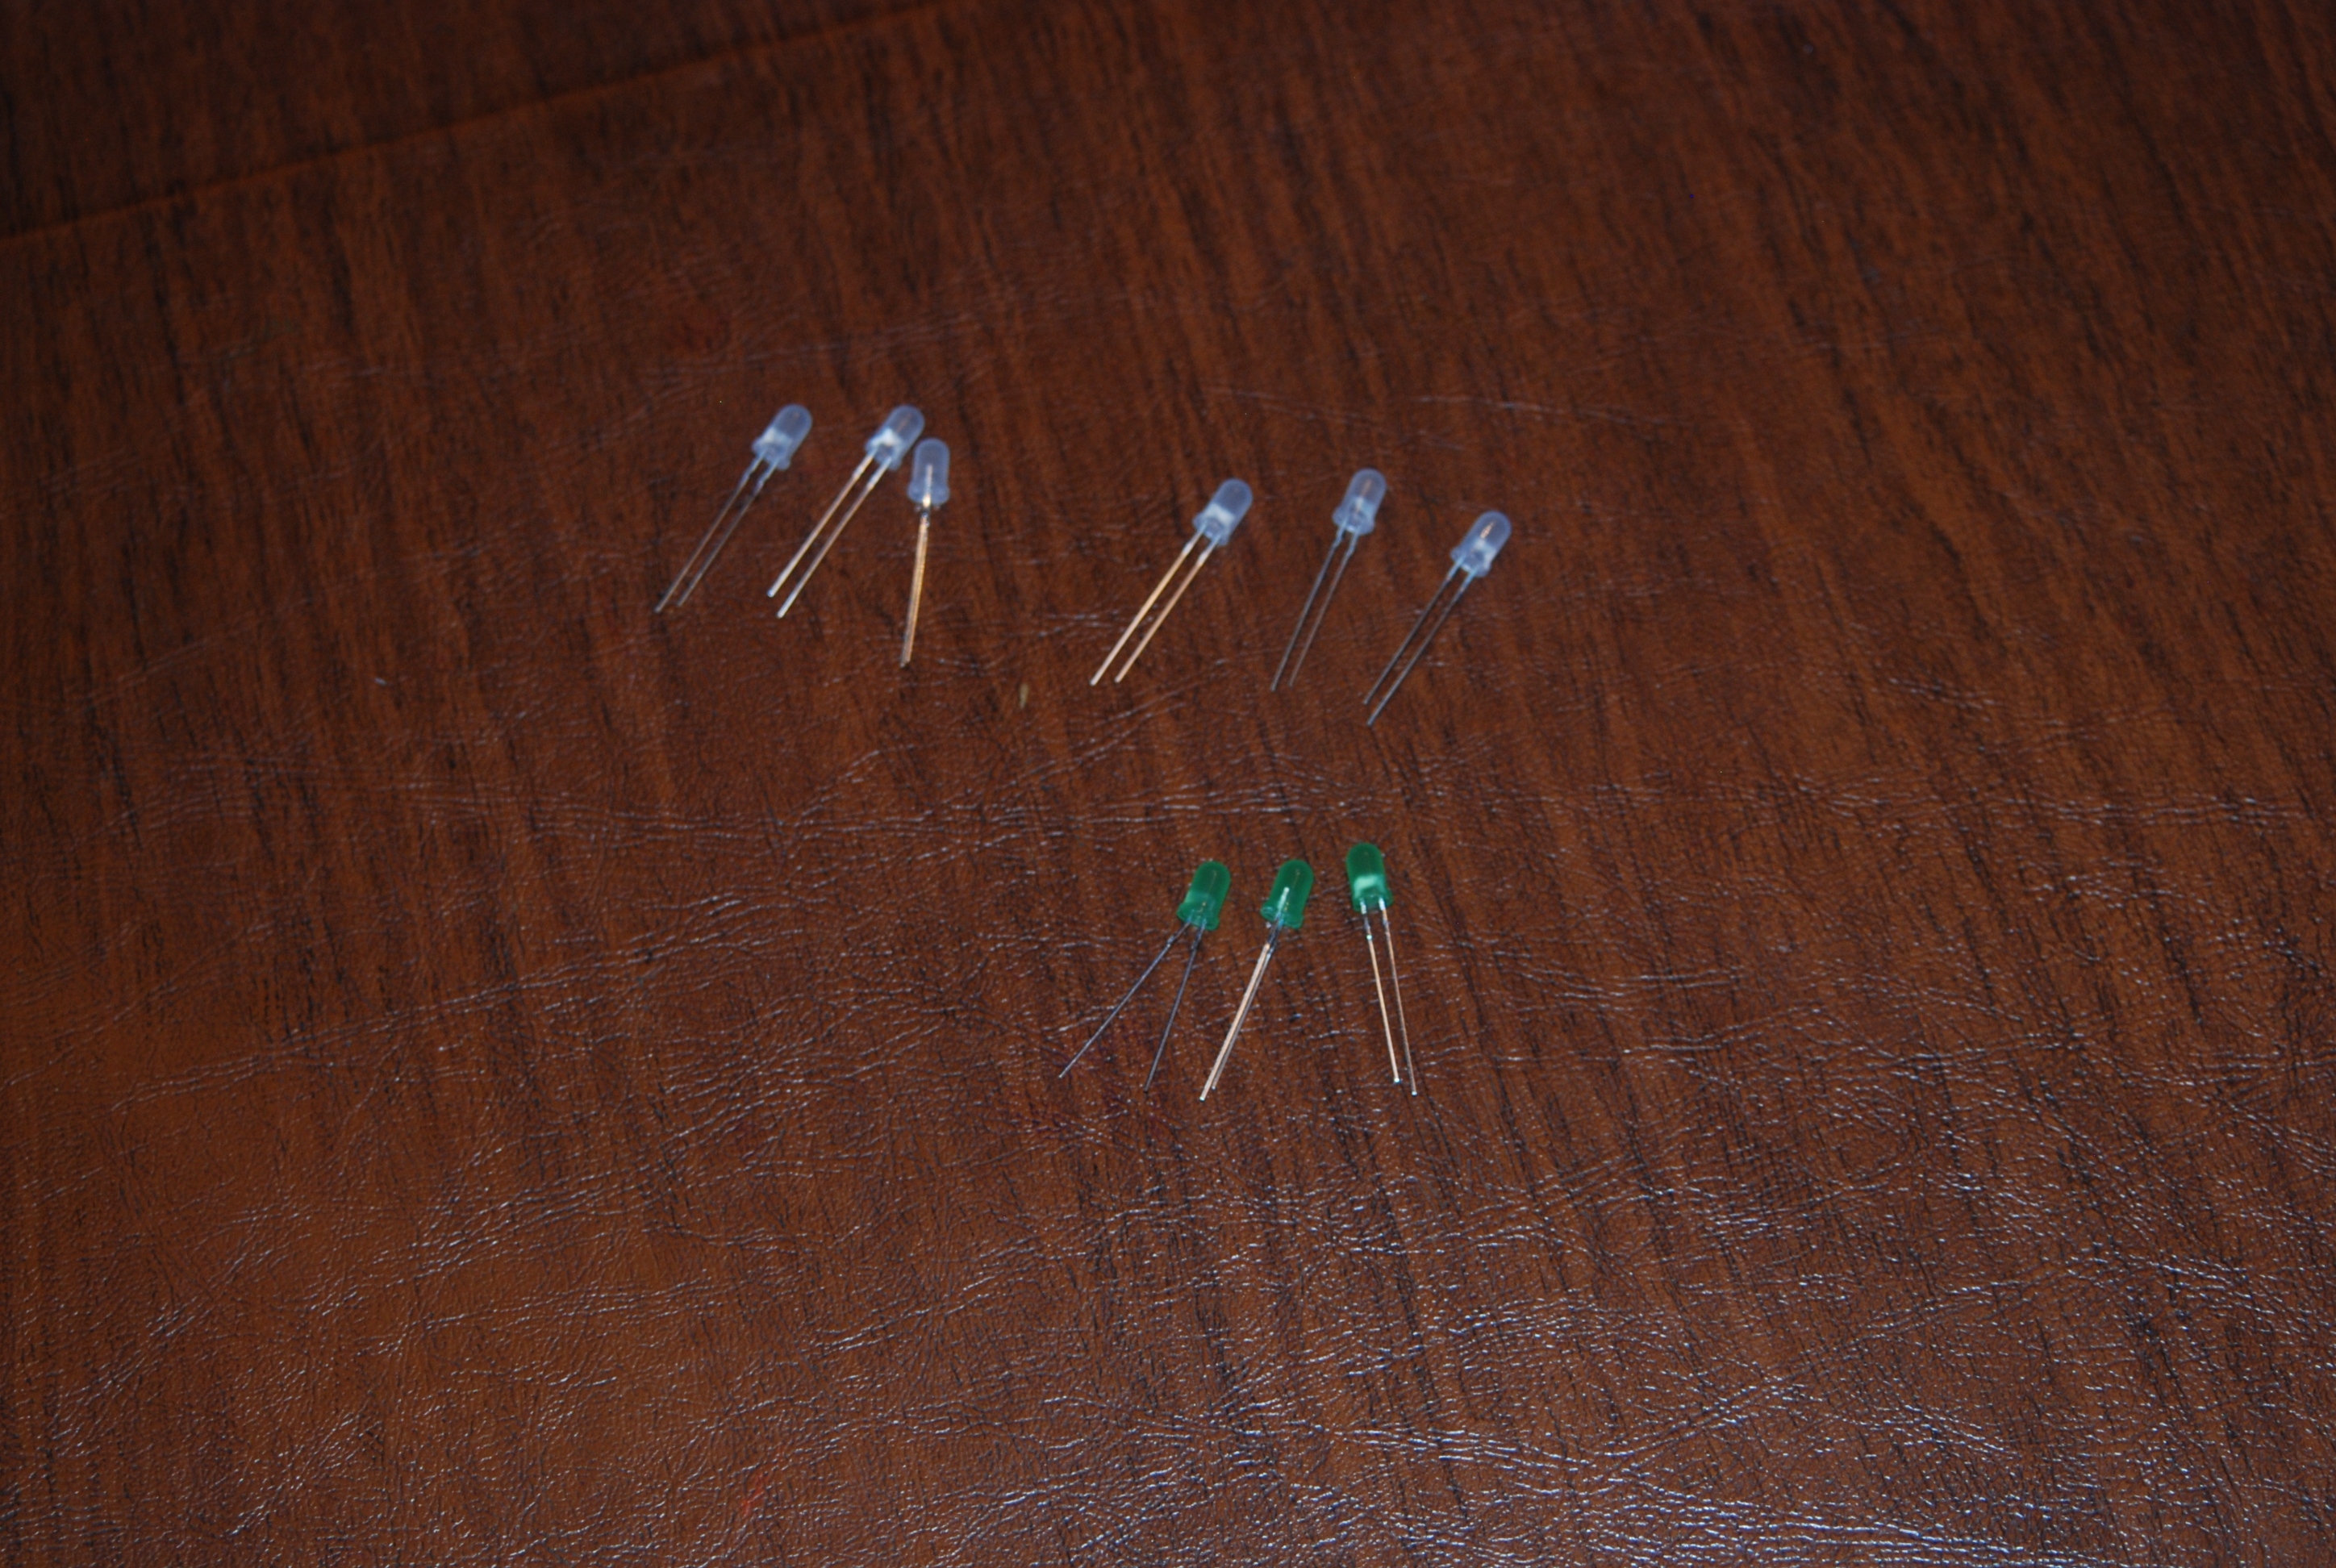
For wire I decided to use solid 18 gauge copper wire that I picked up at Radio Shack on the way home. As I wanted to have the wires blend in with the plastic flower stems I bought a set of hook up wire reels with wires colored red, green, and black. I decided to use the green for the positive leads and black for negative. Red, normally used for positive would stand out too much in the green stems. I also bought a small push button that I could use to turn the lights on and off.
I had originally pictured myself puncturing the flowers with an awl to make holes for the wires. However, the material of the flowers turned out to be incredibly tough and the resulting holes were hard to line up to push the wires through. So I then tried cutting a small slit using a utility knife with a new blade and that worked out well.
The flowers I bought had six small roses with their own stems that connected to one main stem. I soldered each LED to wire leads that were long enough to reach almost to the bottom of the main stem. For each soldered connection I used black electrical tape to prevent a short circuit. When I had all six wired up I then I twisted all six black leads together along with another single lead so that I had one lead to go into the vase. Then I did the same with the green leads such that I had a single lead that would later connect to the switch. 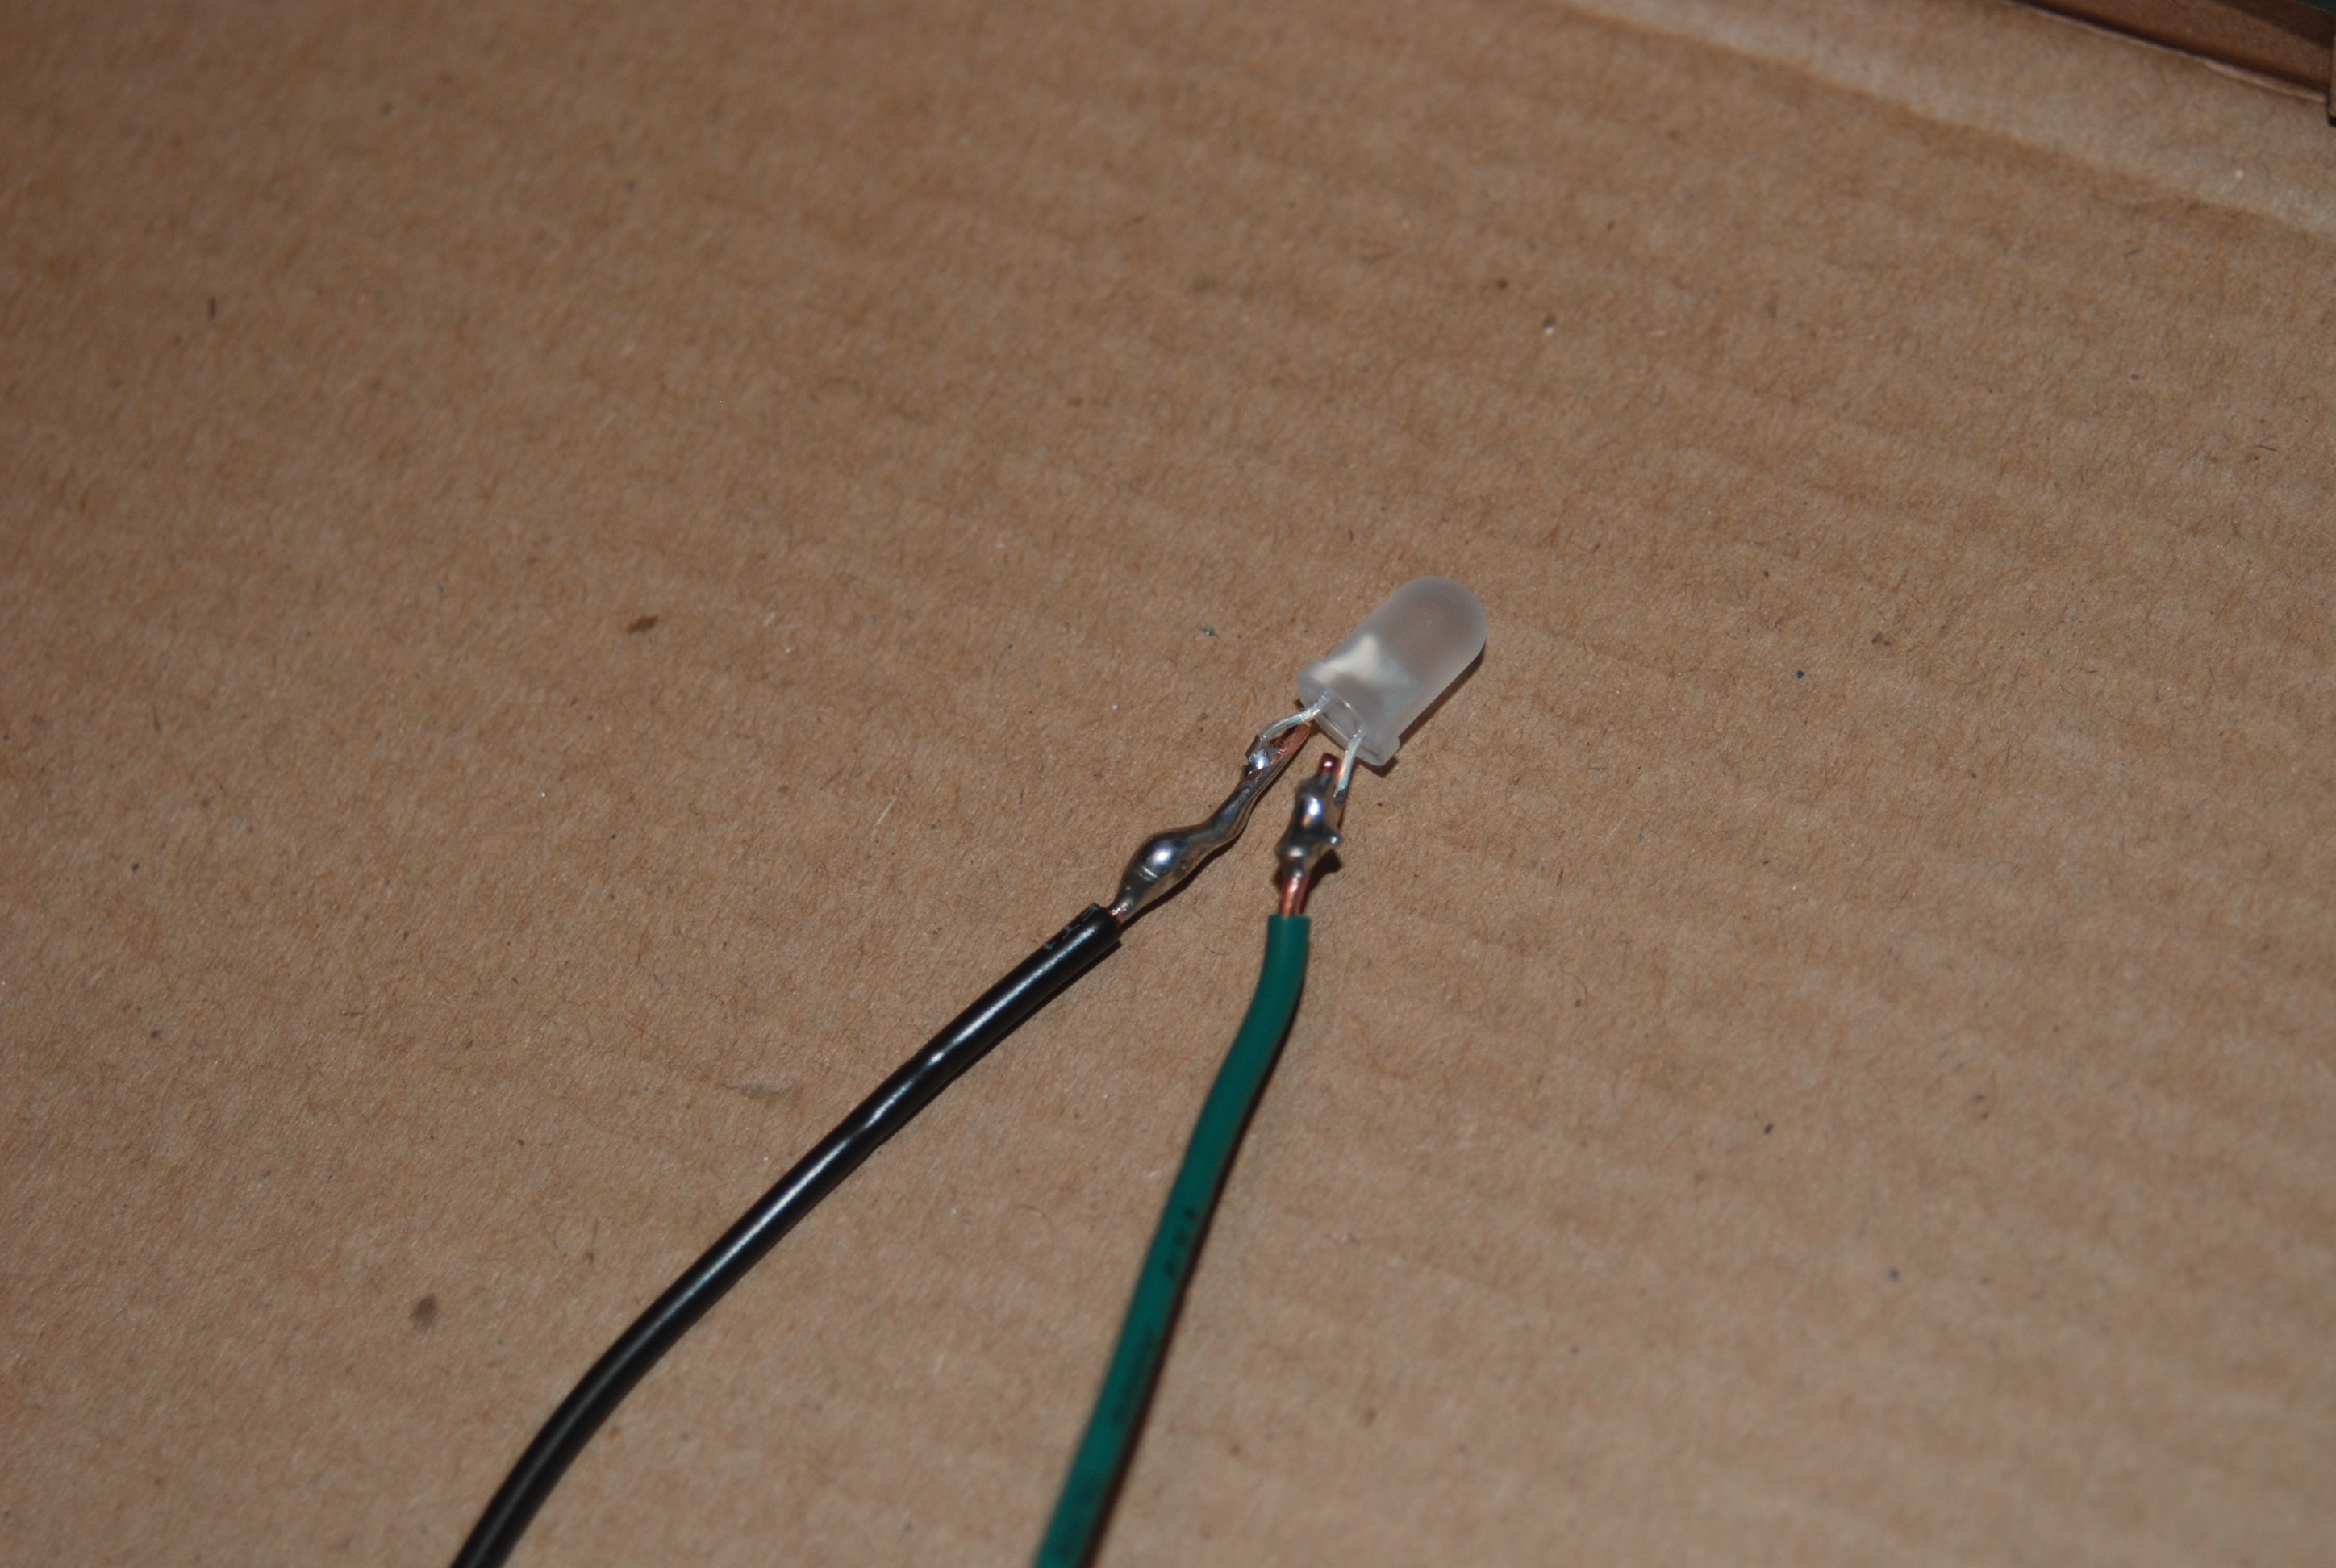
To light up the vase itself I used three green LEDs, also 3.0 volts. I soldered and taped them the same way I did with the flowers, using different lengths of wires. Then I connected all of the black leads together and connected them with the black lead from the flowers to the black (negative) lead from the battery pack. To use the switch I connected the red (positive) lead from the battery to one post of the switch. Then I connected the green wires from the vase to the wire from the flowers into one wire which I then soldered to the other post of the switch.
The lights worked as expected. If I were to change anything I would use a bigger vase and more marbles to better conceal the battery pack and wires in the vase. 
My six year old son helped out with cutting some of the wires and testing the LEDs. He enjoyed it immensely and I look forward to including him in future projects. This was not meant to be an advanced project but simply one that I could do in a short period of time (approximately 2 hours) and without spending a lot of money. It would have been cheaper if I had picked up the vase and flowers in a thrift store but while I was not exactly in a hurry, I didn’t want to spend a lot of time looking around for what I needed.
1 comment
[…] Great beginner electronics project for Valentine’s Day. […]