We have two sets of Sylvania headphones that we purchased for a trip to Belarus to visit my wife’s family. They were intended for the kids to watch their DVD player while on the plane. The headphones worked fine but were not enough by a long shot. By the time we arrived at our destination (each way) the kids were playing in the aisles and generally keeping both me and my wife very busy. But that’s a story for a different time. Once we got home the headphones were tossed into a drawer in the filing cabinet and not touched again until recently.
We started using both of them at around the same time, me at work and my wife with the laptop. Both were bad. Mine worked for a few days and then broke off in my PC at work. The set my wife was using started cutting in and out when the wire moved. I found a great Instructable here for replacing the plugs and at this time I’ve replaced the jack on my wife’s set. Hopefully I will get a chance to fix mine soon as well. 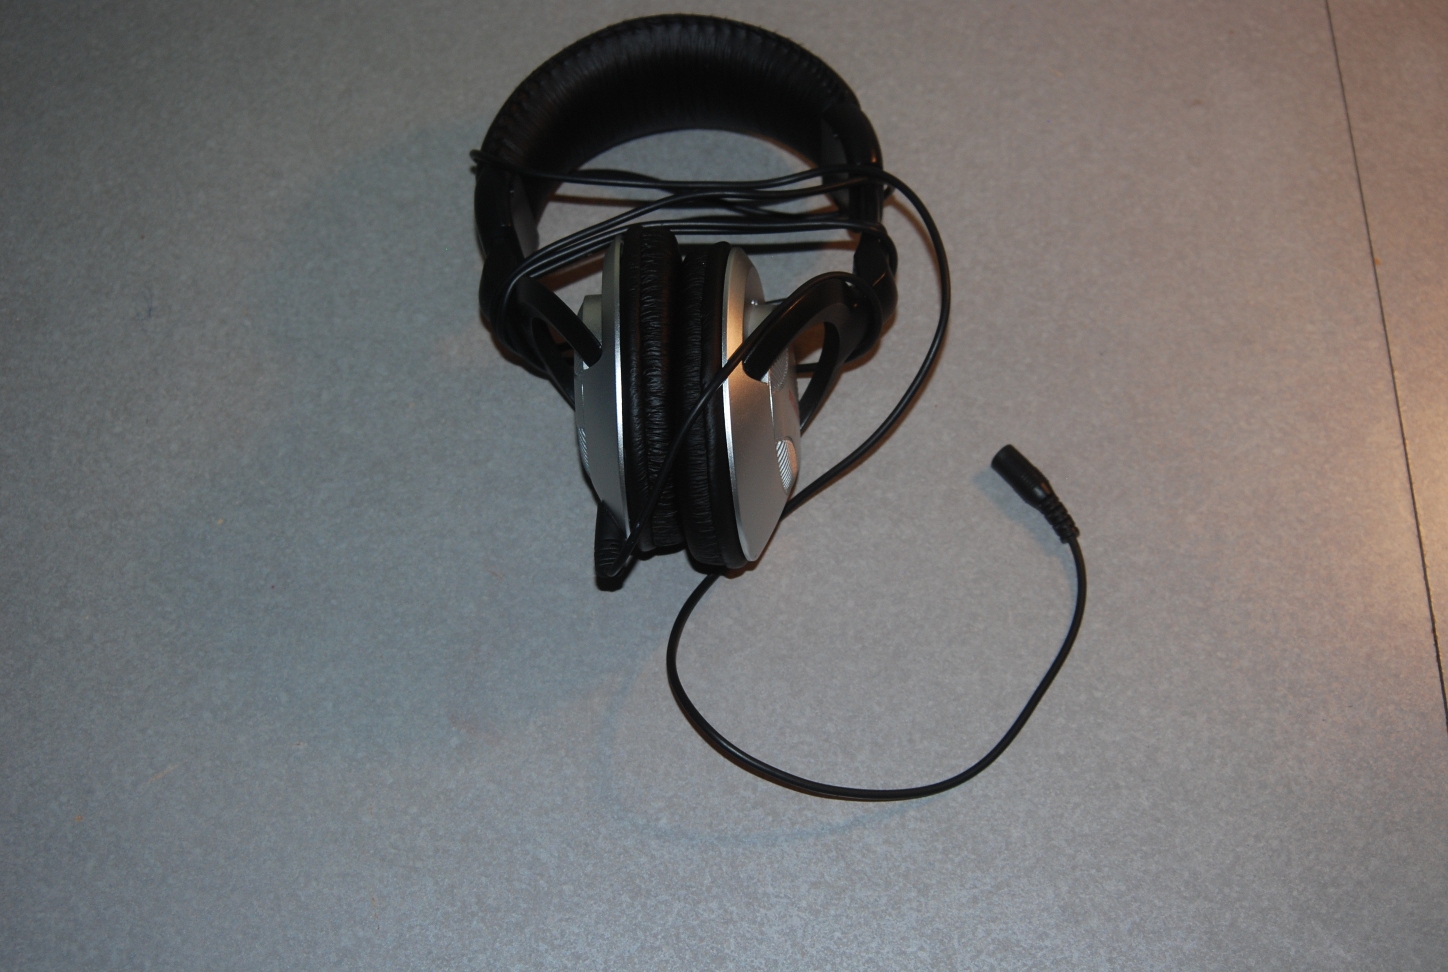
I used my “helping hands” and they were indispensable. I did not have cable strippers so I used my standard wire strippers and did not have any problems with the results. The instructions said to expect two bare copper wires that would be the ground but I only had one. The other wires were green and red. The colors are actually colored enamel. The instructions did mention that it may be possible to scrape the enamel off but I found that was not very effective. His suggestion was to use a micro torch. As I don’t have one I tried to use a standard cigarette lighter and it worked perfectly. Be careful though as once it starts burning it burns quickly.
You really only need a short length of wire to make the connections but it makes it easier to thread the wire into the holes in the jack if you have an inch or so of wire to play with. Just burn the red and green (or blue) enamel down to approximately a 1/4″ from where you stripped the cable. As advised, I threaded the wire from the inside out and then soldered it. I started with the right, then left, then the ground. When you look at the plug you will see three posts. The small one is for the right ear/wire. The slightly bigger one opposite that is for the left wire. The big post if for ground.

New Audio Plugs – Preinstall
MAKE SURE YOU SLIDE THE FEMALE HALF OF THE PLUG ONTO THE CABLE BEFORE YOU SOLDER THE FIRST CONNECTION! I made this mistake on the first plug I did and it took a while to de-solder the hole so I could reconnect the wire.
I found that the solder held better if I made a turn around the post with the wire. Otherwise there was a gap in the hold around the wire and the solder did not make a good connection. I also found that if you are having trouble threading the wire you can bend the left post outward a little to make room. Ensure that you don’t connect them such that the bare wires will be touching each other, causing a short circuit. This could possible cause damage to your MP3 player, iPod, etc. when you try it out later.
This repair took a little longer than I expected, partly due to the problem mentioned above where I had to remove the red wire after I had connected it because I forgot to slide the other part over the cable before I started. Also, I had some trouble with threading the wires through and keeping them in place in older to solder them well. The second went a little faster because of my experience with the first.
The Instructable was clear and easy to follow, but you don’t really need all of the recommended tools. This would be more valuable if my headphones were more expensive, but I didn’t really do it to save money. I just wanted to try the fix myself for fun and to keep the headphones out of the landfill.
Good luck!
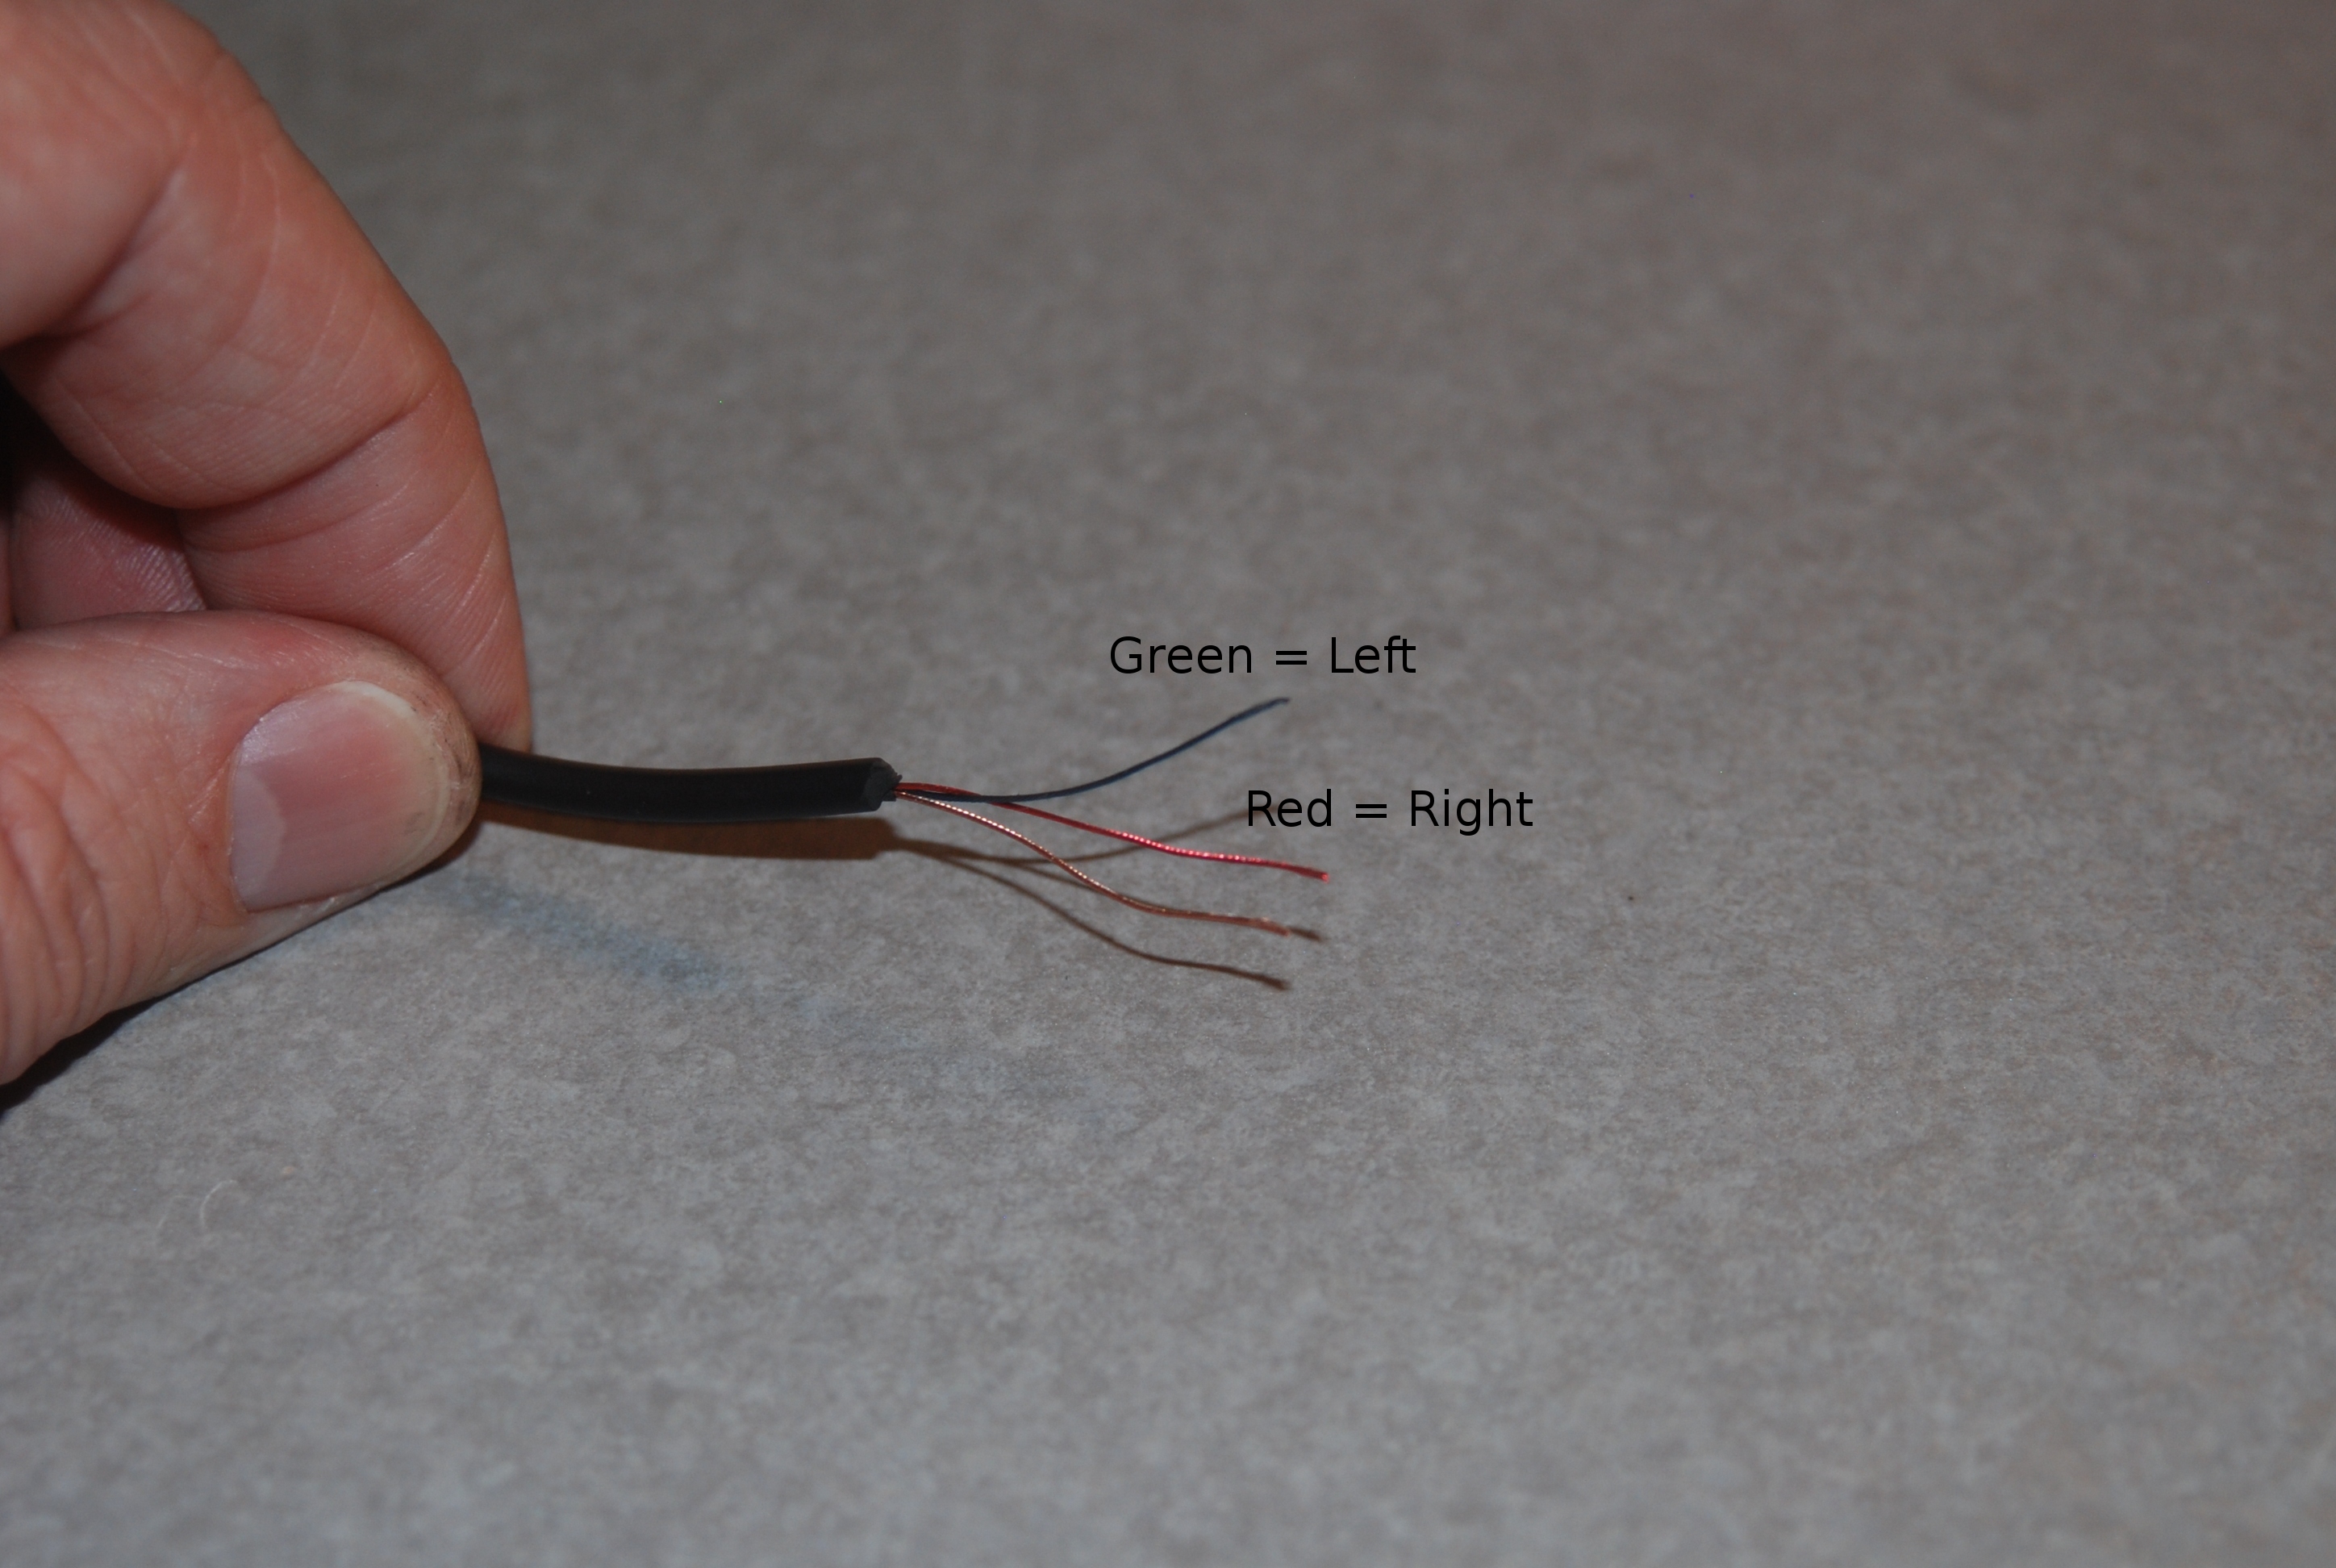
Stripped Plug Wires
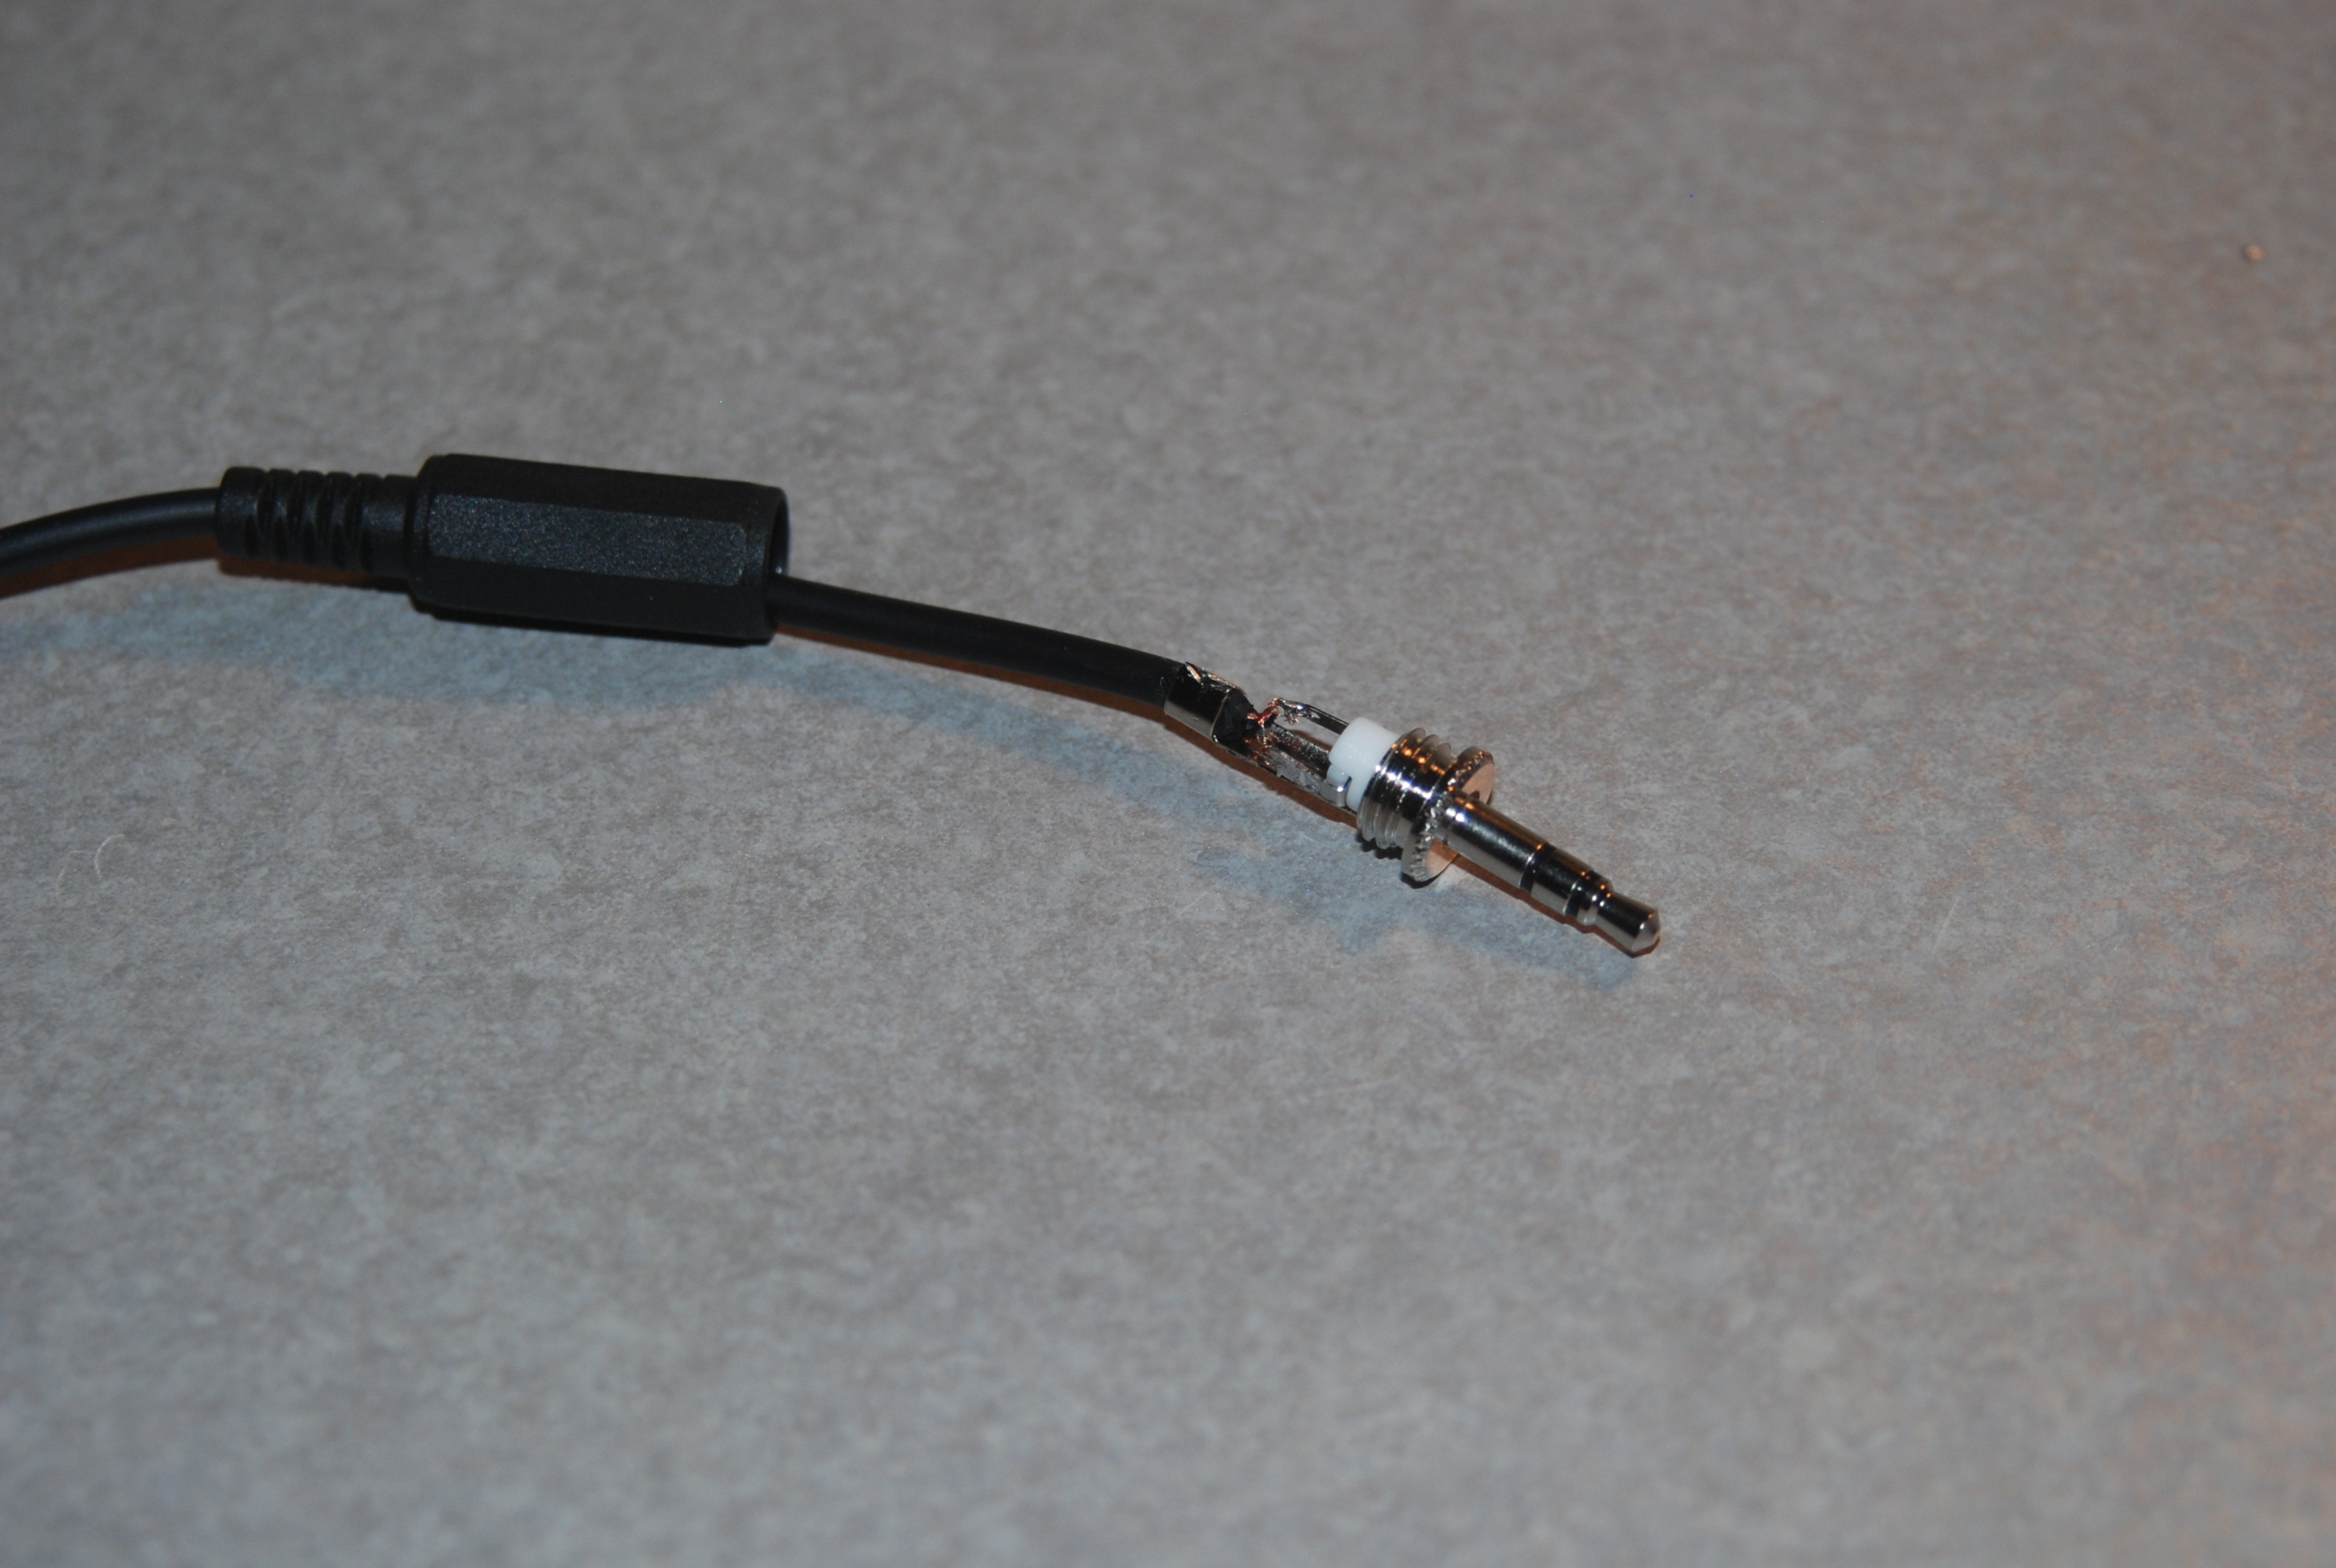
New Plug Attached
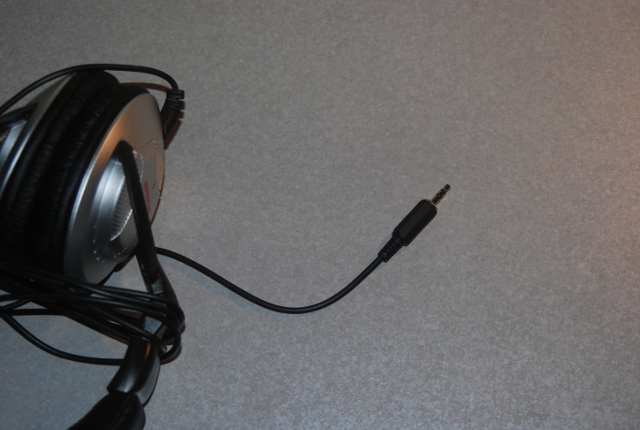
Project Complete