
In this lesson, we will build upon Lesson 6 by changing our code to make the pushbutton act as a toggle switch. What that means is that previously, when we pressed the button, the LEDs lit and when we released the button, the LEDs turned off. The desired behavior for this lesson is that when we press the button, the LEDs turn, but when we release it, the LEDs stay on, blinking over and over again until we press the button again. Think of it as a light switch on the wall. You flip the switch and the lights come on. They then stay on until you flip the position of the switch again. That’s why it’s sometimes referred to as a toggle switch because you toggle it on and off.
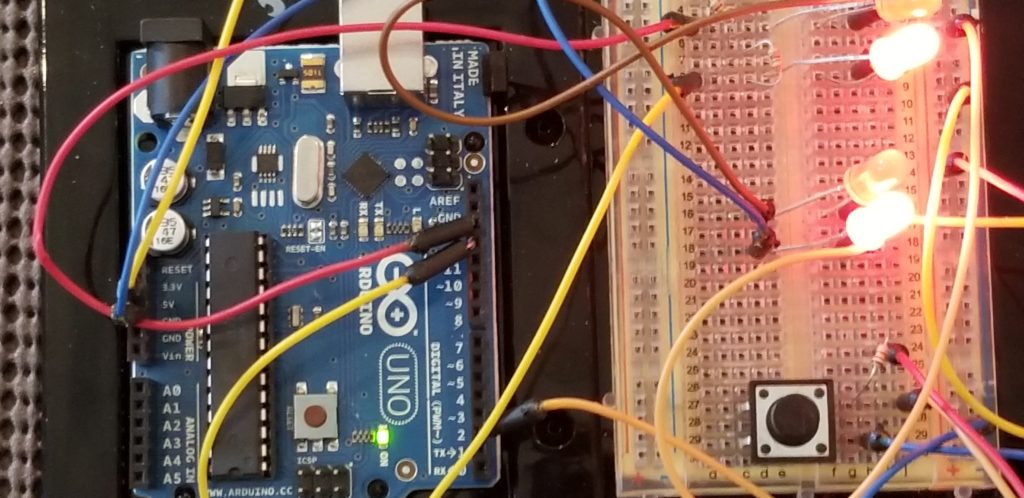
Another problem I found with the current setup is that sometimes the button did not seem to work properly. For instance, when the LEDs were turned off, they would occasionally stay on, still blinking. Sometimes when I turned them on they would flash and then go back off. It turns out that I had not debounced the button. Apparently, when you press a button there can be “chatter”. So when you press the button it may actually make contact and break contact multiple times, even though you simply pressed it. I found an explanation for what it means to debounce a button and the solution here.
Here is the code. A link to the code in text format is provided below in the Resources section.
/*
arduino_lesson_7
MakerDaddy.com
*/
const int leftLeds = 13;
const int rightLeds = 12;
const int buttonPin = 2;
int oldButtonState = LOW;
int currentState = LOW;
// the previous flickerable state from the input pin
int lastFlickerableState = LOW;
bool running = false;
int leftLEDState = LOW;
int rightLEDState = LOW;
bool leftOn = true;
bool rightOn = false;
// Generally, you should use "unsigned long" for variables that hold time
// The value will quickly become too large for an int to store
// will store last time left LEDs were updated
unsigned long leftPreviousMillis = 0;
// will store last time right LEDs were updated
unsigned long rightPreviousMillis = 0;
// will store current millis
unsigned long currentMillis = 0;
// interval at which to blink (milliseconds)
const long interval = 500;
// the last time the output pin was toggled
unsigned long lastDebounceTime = 0;
// the debounce time; increase if the output flickers
unsigned long debounceDelay = 50;
void setup() {
pinMode(leftLeds, OUTPUT);
pinMode(rightLeds, OUTPUT);
// initialize the pushbutton pin as an input:
pinMode(buttonPin, INPUT);
Serial.begin(9600);
}
void loop() {
// read the state of the pushbutton value:
currentState = digitalRead(buttonPin);
// check to see if you just pressed the button
// (i.e. the input went from LOW to HIGH), and you've waited long enough
// since the last press to ignore any noise:
// If the switch/button changed, due to noise or pressing:
if (currentState != lastFlickerableState) {
// reset the debouncing timer
lastDebounceTime = millis();
// save the the last flickerable state
lastFlickerableState = currentState;
}
if((millis() - lastDebounceTime) > debounceDelay){
// whatever the reading is at, it's been there for longer than the debounce
// delay, so take it as the actual current state:
// if the button state has changed:
if(oldButtonState == HIGH && currentState == LOW){
if(running == true){
running = false;
}else{
running = true;
}
}
// save the the last steady stateoldButtonState = currentState;
}
if(running){
runProcess();
}else{
stopProcess();
}
}
void runProcess(){
currentMillis = millis();
// check to see if it's time to blink the LED; that is, if the difference
// between the current time and last time you blinked the LED is bigger than
// the interval at which you want to blink the LED.
if(currentMillis - leftPreviousMillis >= interval && leftOn){
leftPreviousMillis = currentMillis;
// if the LED is off turn it on and vice-versa:
if (leftLEDState == LOW) {
leftLEDState = HIGH;
} else {
leftLEDState = LOW;
leftOn = false;
rightOn = true;
}
writeLED(leftLeds, leftLEDState);
}if(currentMillis - rightPreviousMillis >= interval && rightOn){ rightPreviousMillis = currentMillis;// if the LED is off turn it on and vice-versaif (rightLEDState == LOW) {rightLEDState = HIGH; }else {rightLEDState = LOW;leftOn = true;rightOn = false;}writeLED(rightLeds, rightLEDState); }
}
void stopProcess(){
writeLED(leftLeds, LOW);
writeLED(rightLeds, LOW);
leftOn = true;
rightOn = false;
leftPreviousMillis = 0;
rightPreviousMillis = 0;
leftLEDState = LOW;
rightLEDState = LOW;
}
void writeLED(int pin, int state){
digitalWrite(pin, state);
}
We are declaring some new global variables. Instead of buttonState, we have currentState,oldButtonState, and lastFlickerableState. We will use these to determine if our button state has changed and if we need to debounce the button. We also have the variable running, which is a bool, (true or false) that we will check to see if we need to either start blinking the LEDs or turn them off.
We have also moved currentMillis from being declared as a local variable in the loop() function to be a global variable. I did this because I will be checking the values outside of the loop() function. I could have passed it as a parameter to the outside function but decided to make it global instead.
There are two other variables that help us with the button debouncing, lastDebounceTime and debounceDelay. We initialize lastDeboundTime to 0 and will set this later to be the last time the button was clicked. debounceDelay is the number of milliseconds we wait to determine if the button was truly pressed or if we have chatter.
The setup function has not changed. This is where we set pinMode to be OUTPUT for the led pins and INPUT for the button pin.
In the loop() function, the first thing we do is assign the current state of the button to currentState. Then we perform some debounce logic. If the currentState is not the same as the lastFlickerableState, we set lastDeboundTime to the value of millis() (the current time) and then set lastFlickerableState to be the same value as currentState.
In the next “if” we check to see if we have a valid change in button state.
if((millis() – lastDebounceTime) > debounceDelay){
Here we subtract the last debounce time, set earlier, from the current time, and check to see if that is greater than our delay time of 50 milliseconds. If so, it’s been there longer than debounce delay so it’s a valid button press. Since we’ve verified that the button state has really changed and it’s not just chatter, go ahead and check if the oldButtonState is HIGH and the currentState is LOW. If so, we have toggled the button and need to reverse the value of running.
Upon exit from the “if” block we set oldButtonState to be equal to currentState. As we had just pressed the button and currentState was HIGH, we set oldButtonState to HIGH. When we release the button, currentState will go back to LOW and in the next loop we will assign oldButtonState to be LOW as well.
Next we check to see if running is true, and if so, call the runProcess() function. If running is false, we call the stopProcess() function. Note that the code in runProcess is the same code we used in Lesson 6 to determine if the left LEDs and right LEDs should be on or off, depending on the values in currentMillis, leftPreviousMillis, and rightPreviousMillis. The code in stopProcess now includes commands to reset the LED logic by resetting leftOn, rightOn, etc. This allows us to start the process fresh when the runProcess function is called again.
Resources
arduinogetstarted .com Debounce Tutorial
Previous Lesson: Arduino Lesson 6 – Using Time to Blink, not Delay
Next Lesson: Arduino Lesson 8 – Control Servomotor and LEDs using Time