I remember back in the day when my father had two remote controls for the television, me and my younger brother. “Howard! Change the TV to channel 5.” I also operated as the television tuner by going outside and turning the antenna until I heard him shout to stop. My kids can not even comprehend what I’m talking about when I tell them about the “good old days.” Which leads me to today’s topic, remote control using an infrared (IR) receiver. 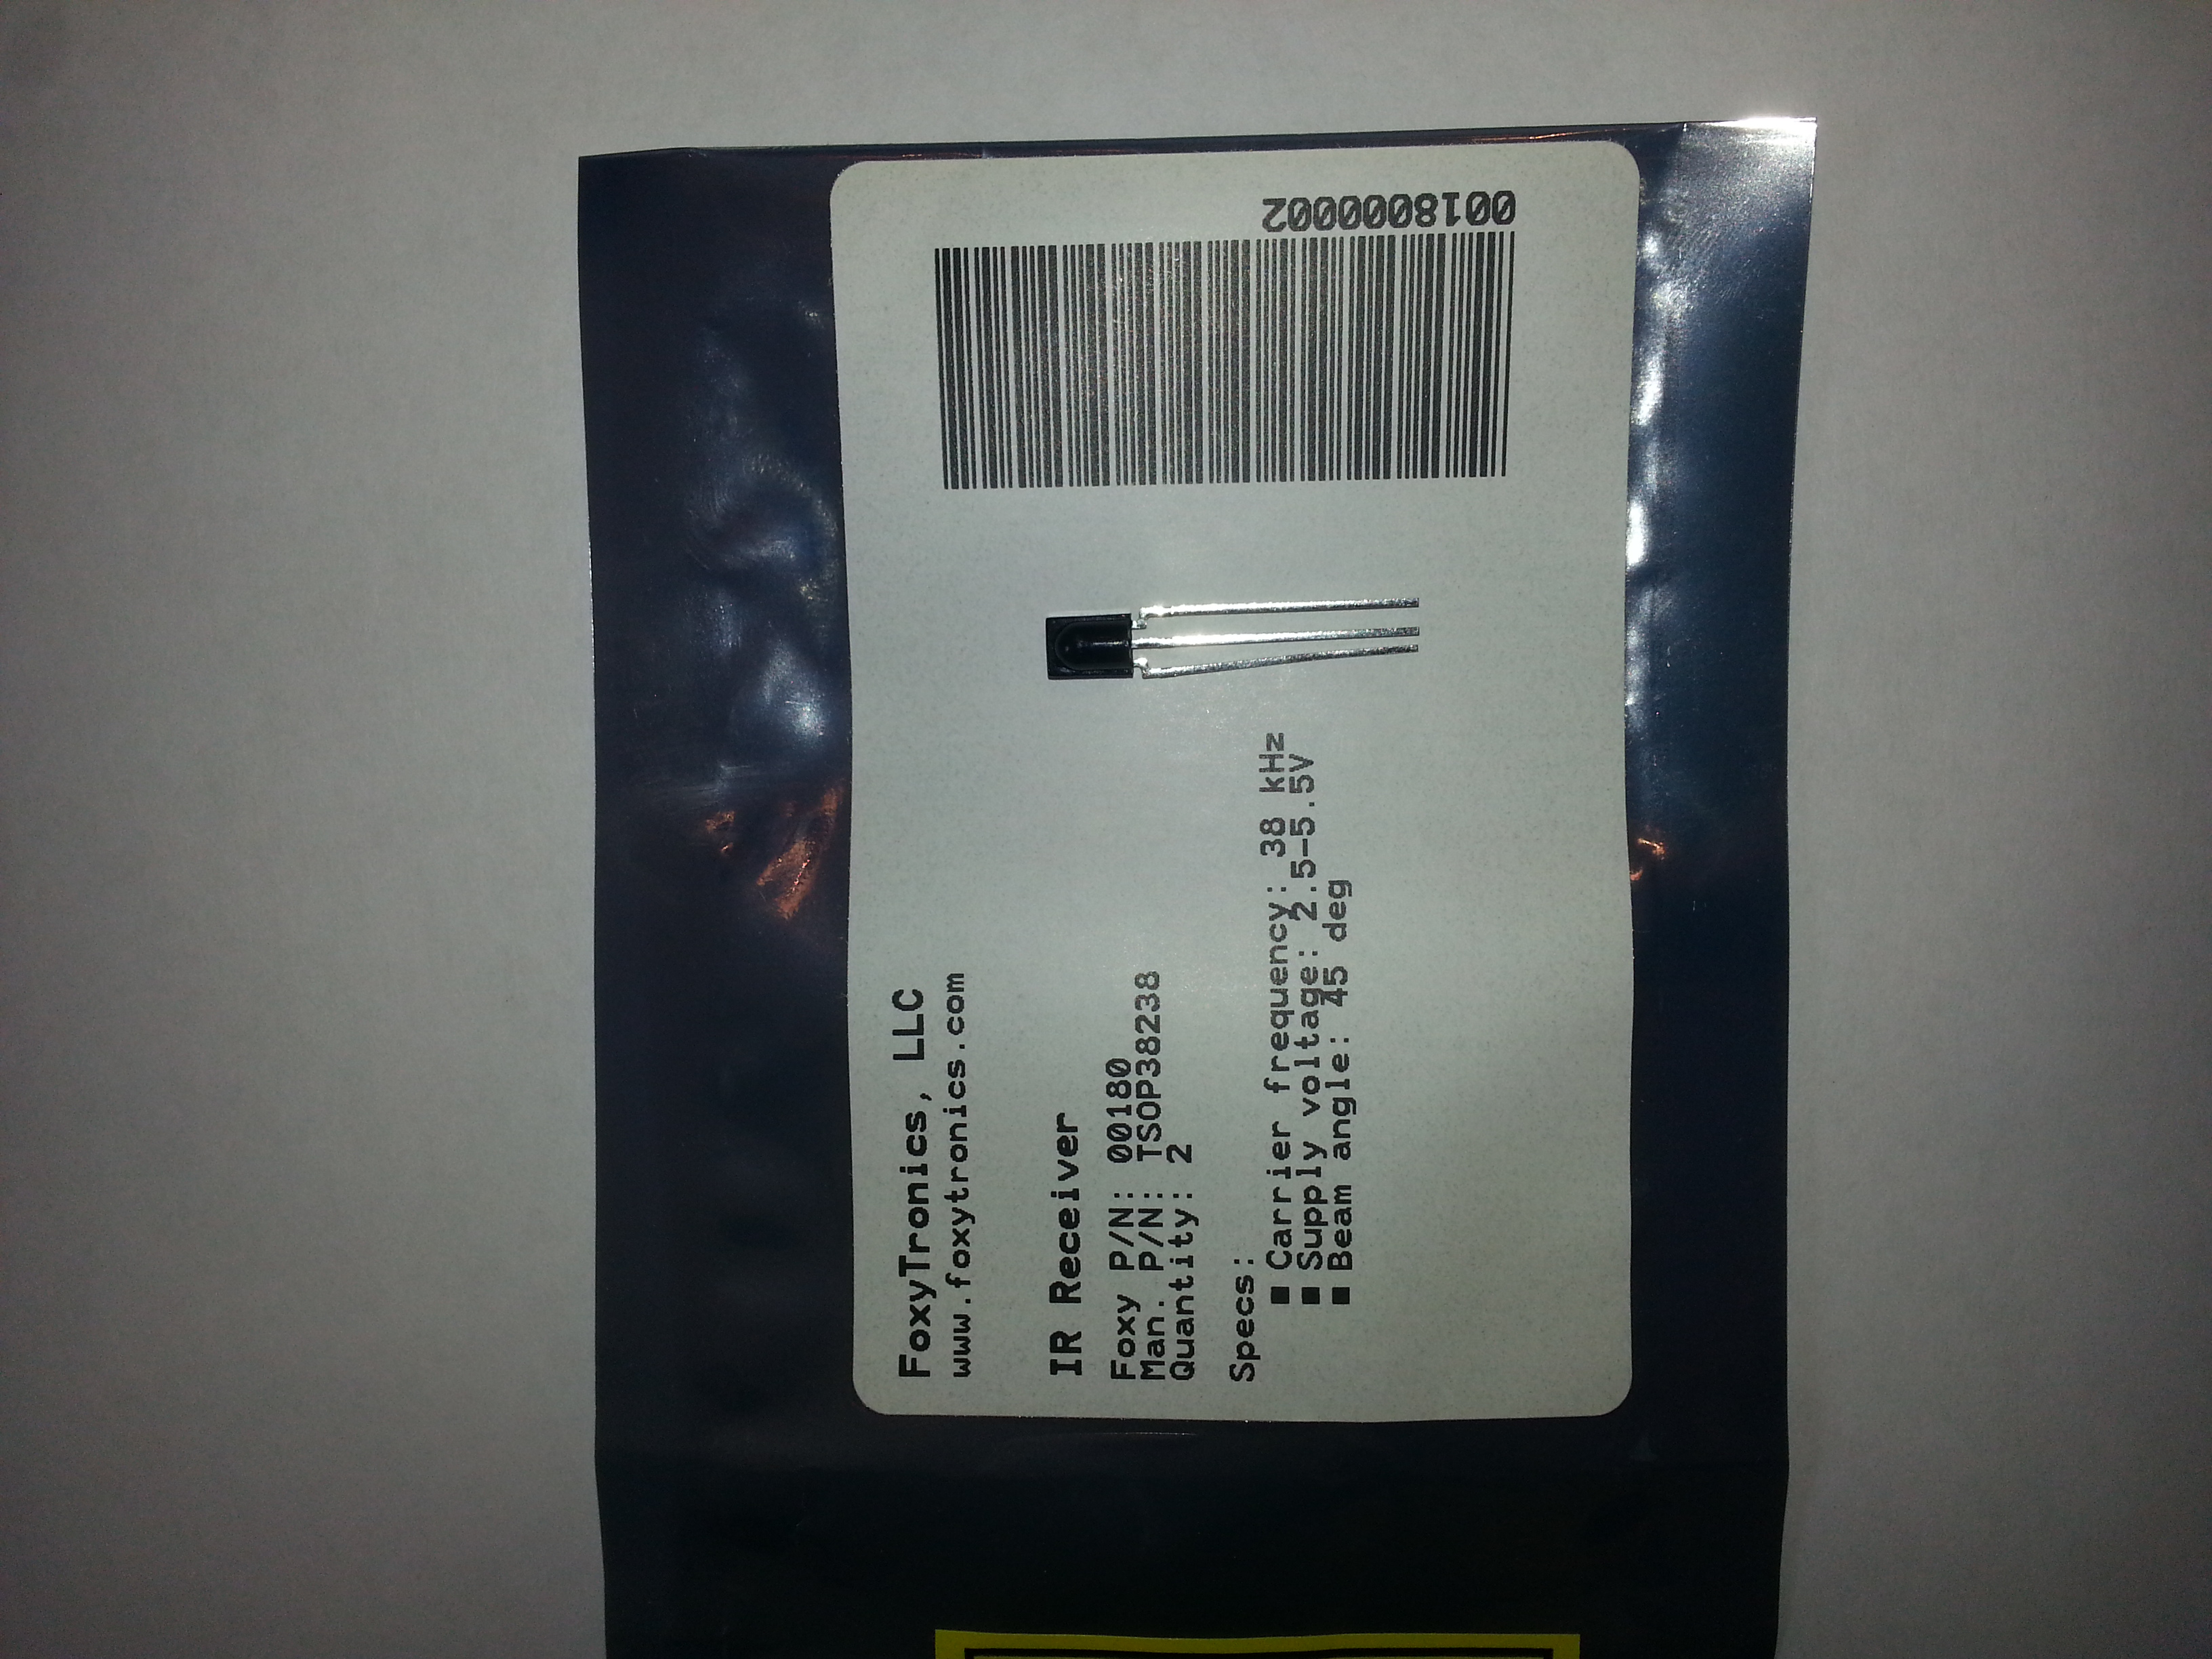
An IR receiver is what you have in your television, DVD player, cable box, etc. that receives an signal when you press a button on your remote control. This signal is actually in the form of light. Imagine that every time you point your remote control at the television and press a button, a beam of light flashes out of the remote and is picked up by the television, turning it on, changing a channel, or changing the volume, depending on which button you pressed. Well, that’s exactly what is happening!
Infrared light is on a wavelength that we humans cannot see. (If you can see in the infrared range please let me know and I will take you to my leader.) So, we can simply point an infrared LED at any infrared receiver and have it work, right? Wrong! That would be rather inconvenient if you live in an apartment and every time your neighbor changes the channel on his television it changed the channel on yours. At least I know that I would find that to be convenient anyway. So how do these magical devices work? Let’s take a look.
IR receivers typically work in the 38 kilohertz (KHz) range and they are looking for IR light that is being pulsed (blinked). So if you simply shine an IR LED at a receiver it won’t do anything. The signals have to be pulsed to be picked up, and they have to be pulsed in a certain way to actually be understood by the software in the TV, VCR, etc. Here are links to a couple of great resources to help you understand more about IR receivers and how they work. We won’t be going into that kind of detail in this post because we want to get to the fun stuff 🙂 Let’s just say that when you press the button on your remote the IR LED in the remote sends a pulse to the IR receiver that is understood as a certain number. For example, if you press the power button and the remote sends a signal that says, “Hey receiver, do number 12345.” The receiver picks up the pulse, reads the signal as 12345, and then the software in the background says, “Yo, we just got a 12345 signal. Let’s power up!” The same goes for the volume buttons, etc. So if you point a different remote control at the same TV and push the power button the remote sends a signal that says, “Hey receiver, do number 9873.” The receiver picks up the pulse and says, “Humph! I don’t recognize that number. Leave me alone!”

My Check here for more detail on what we’ve learned so far and more. Adafruit IR Sensor Tutorial
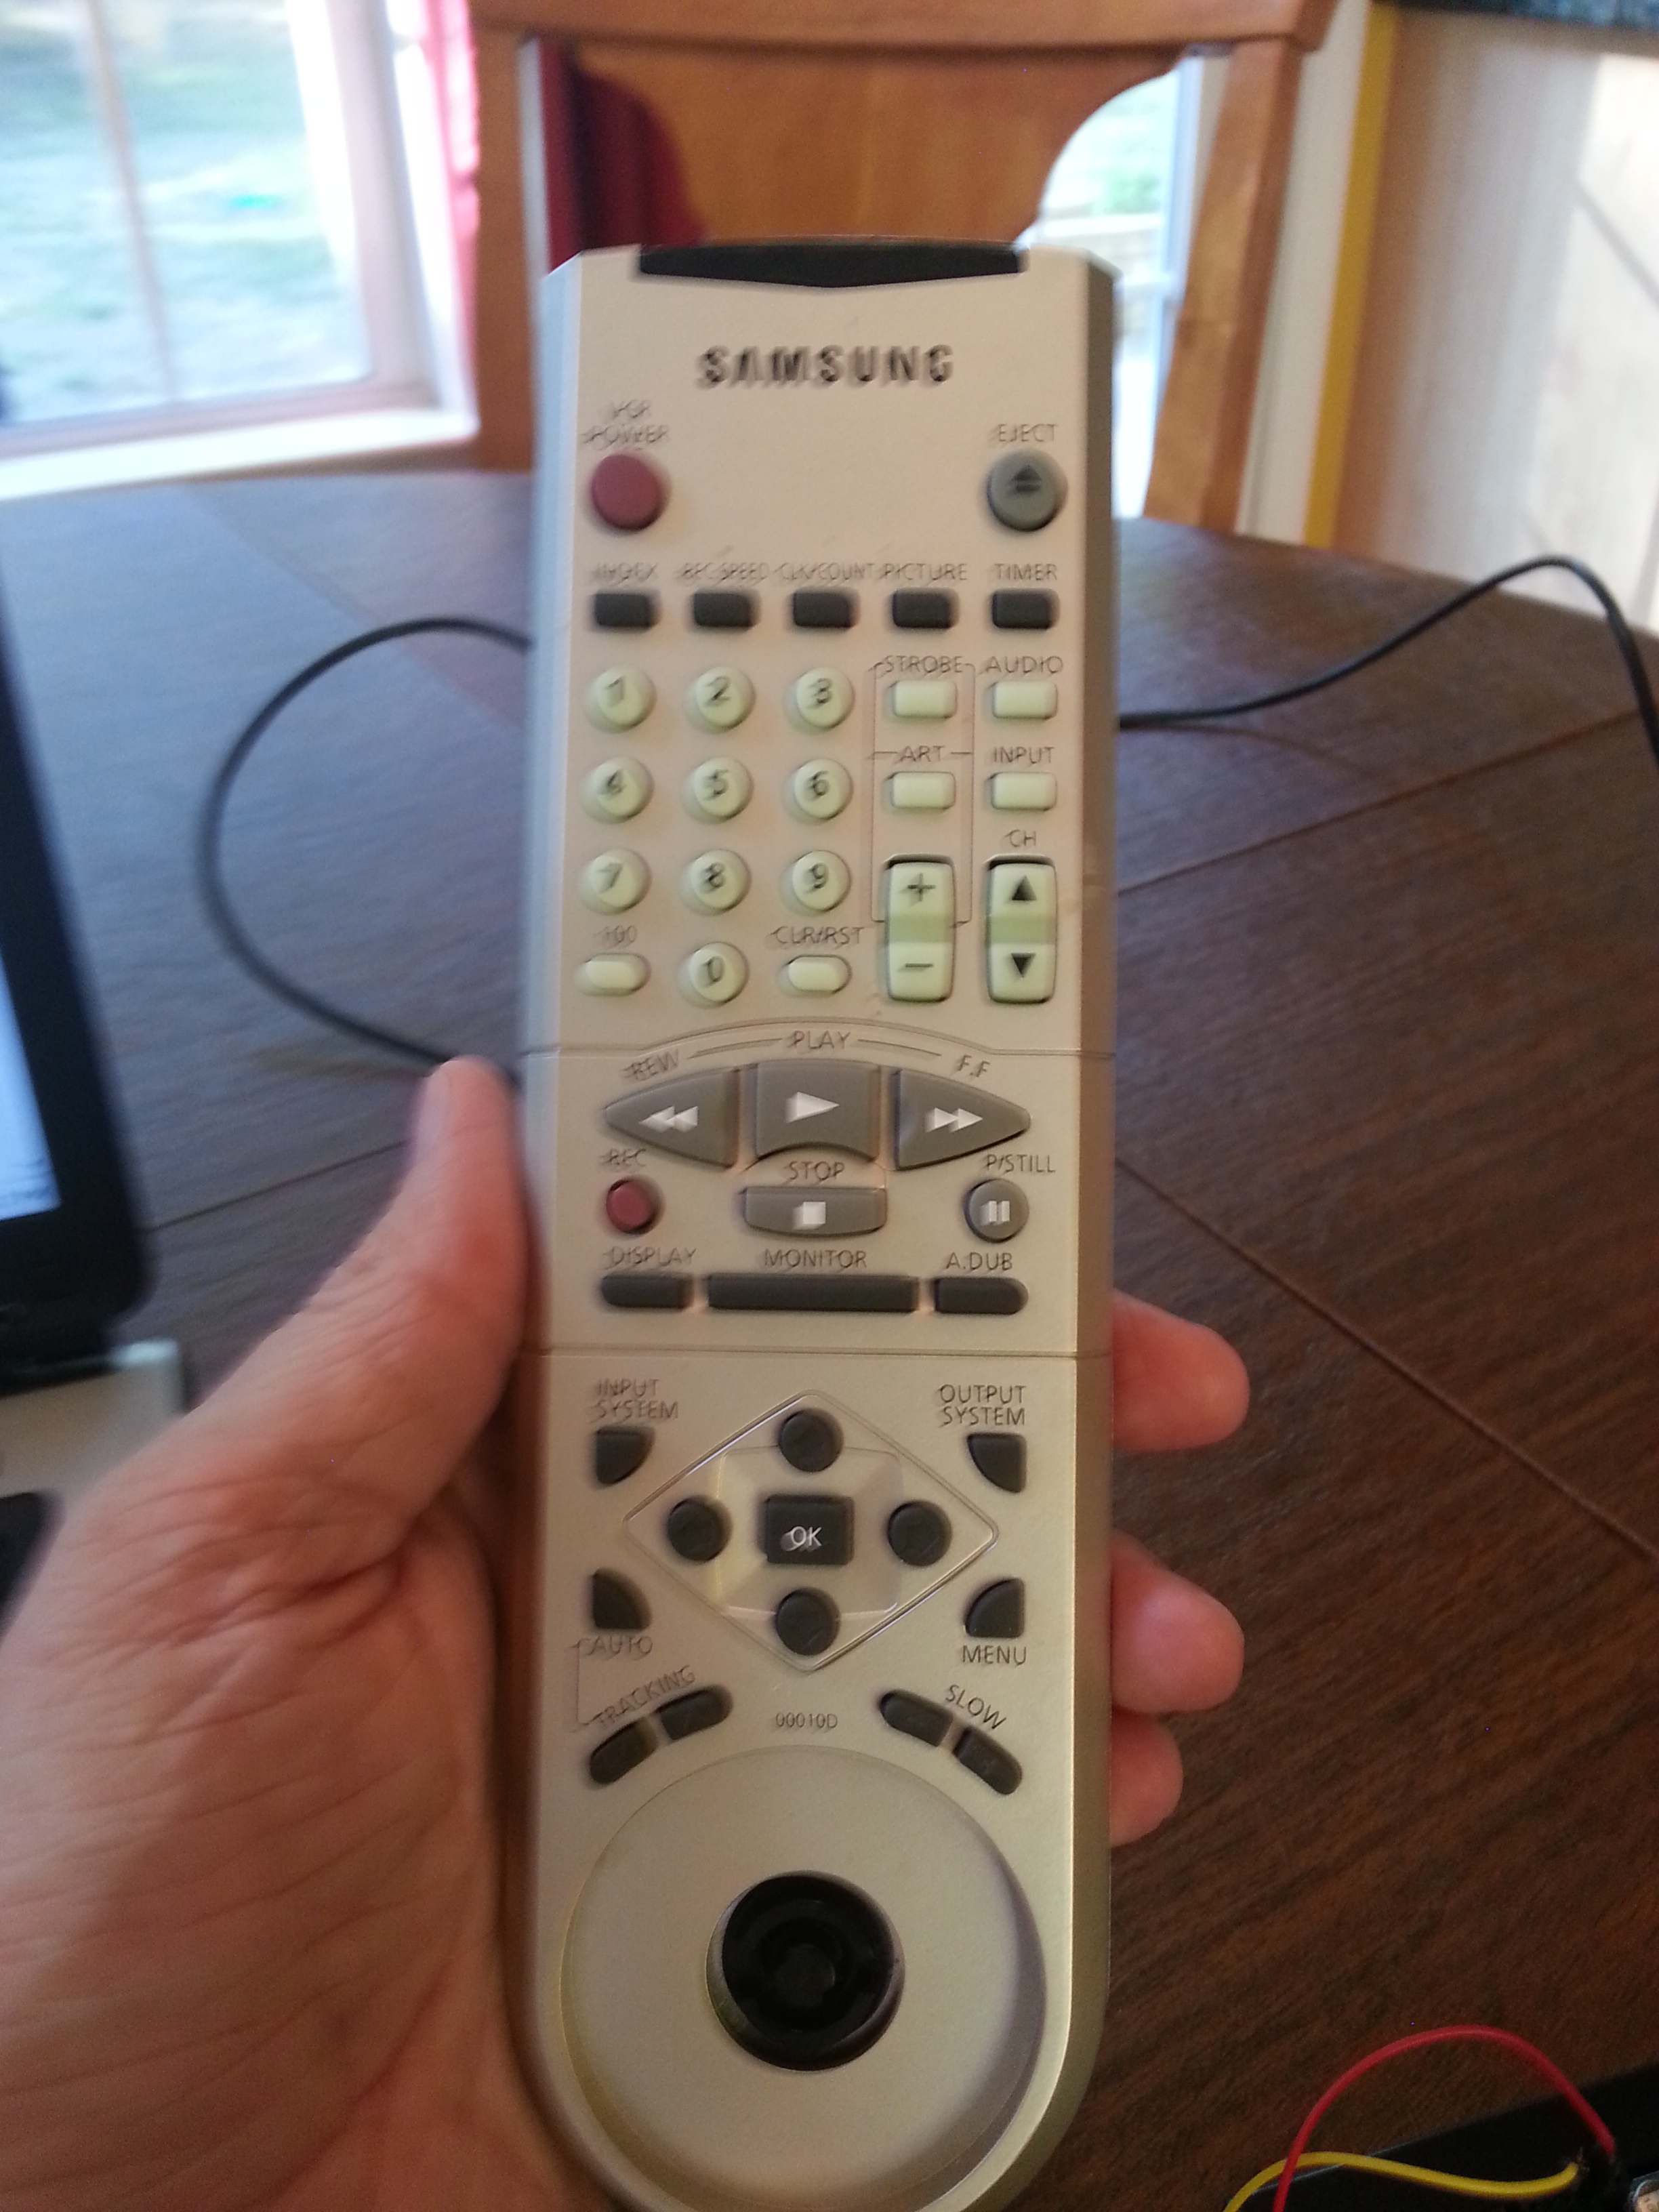
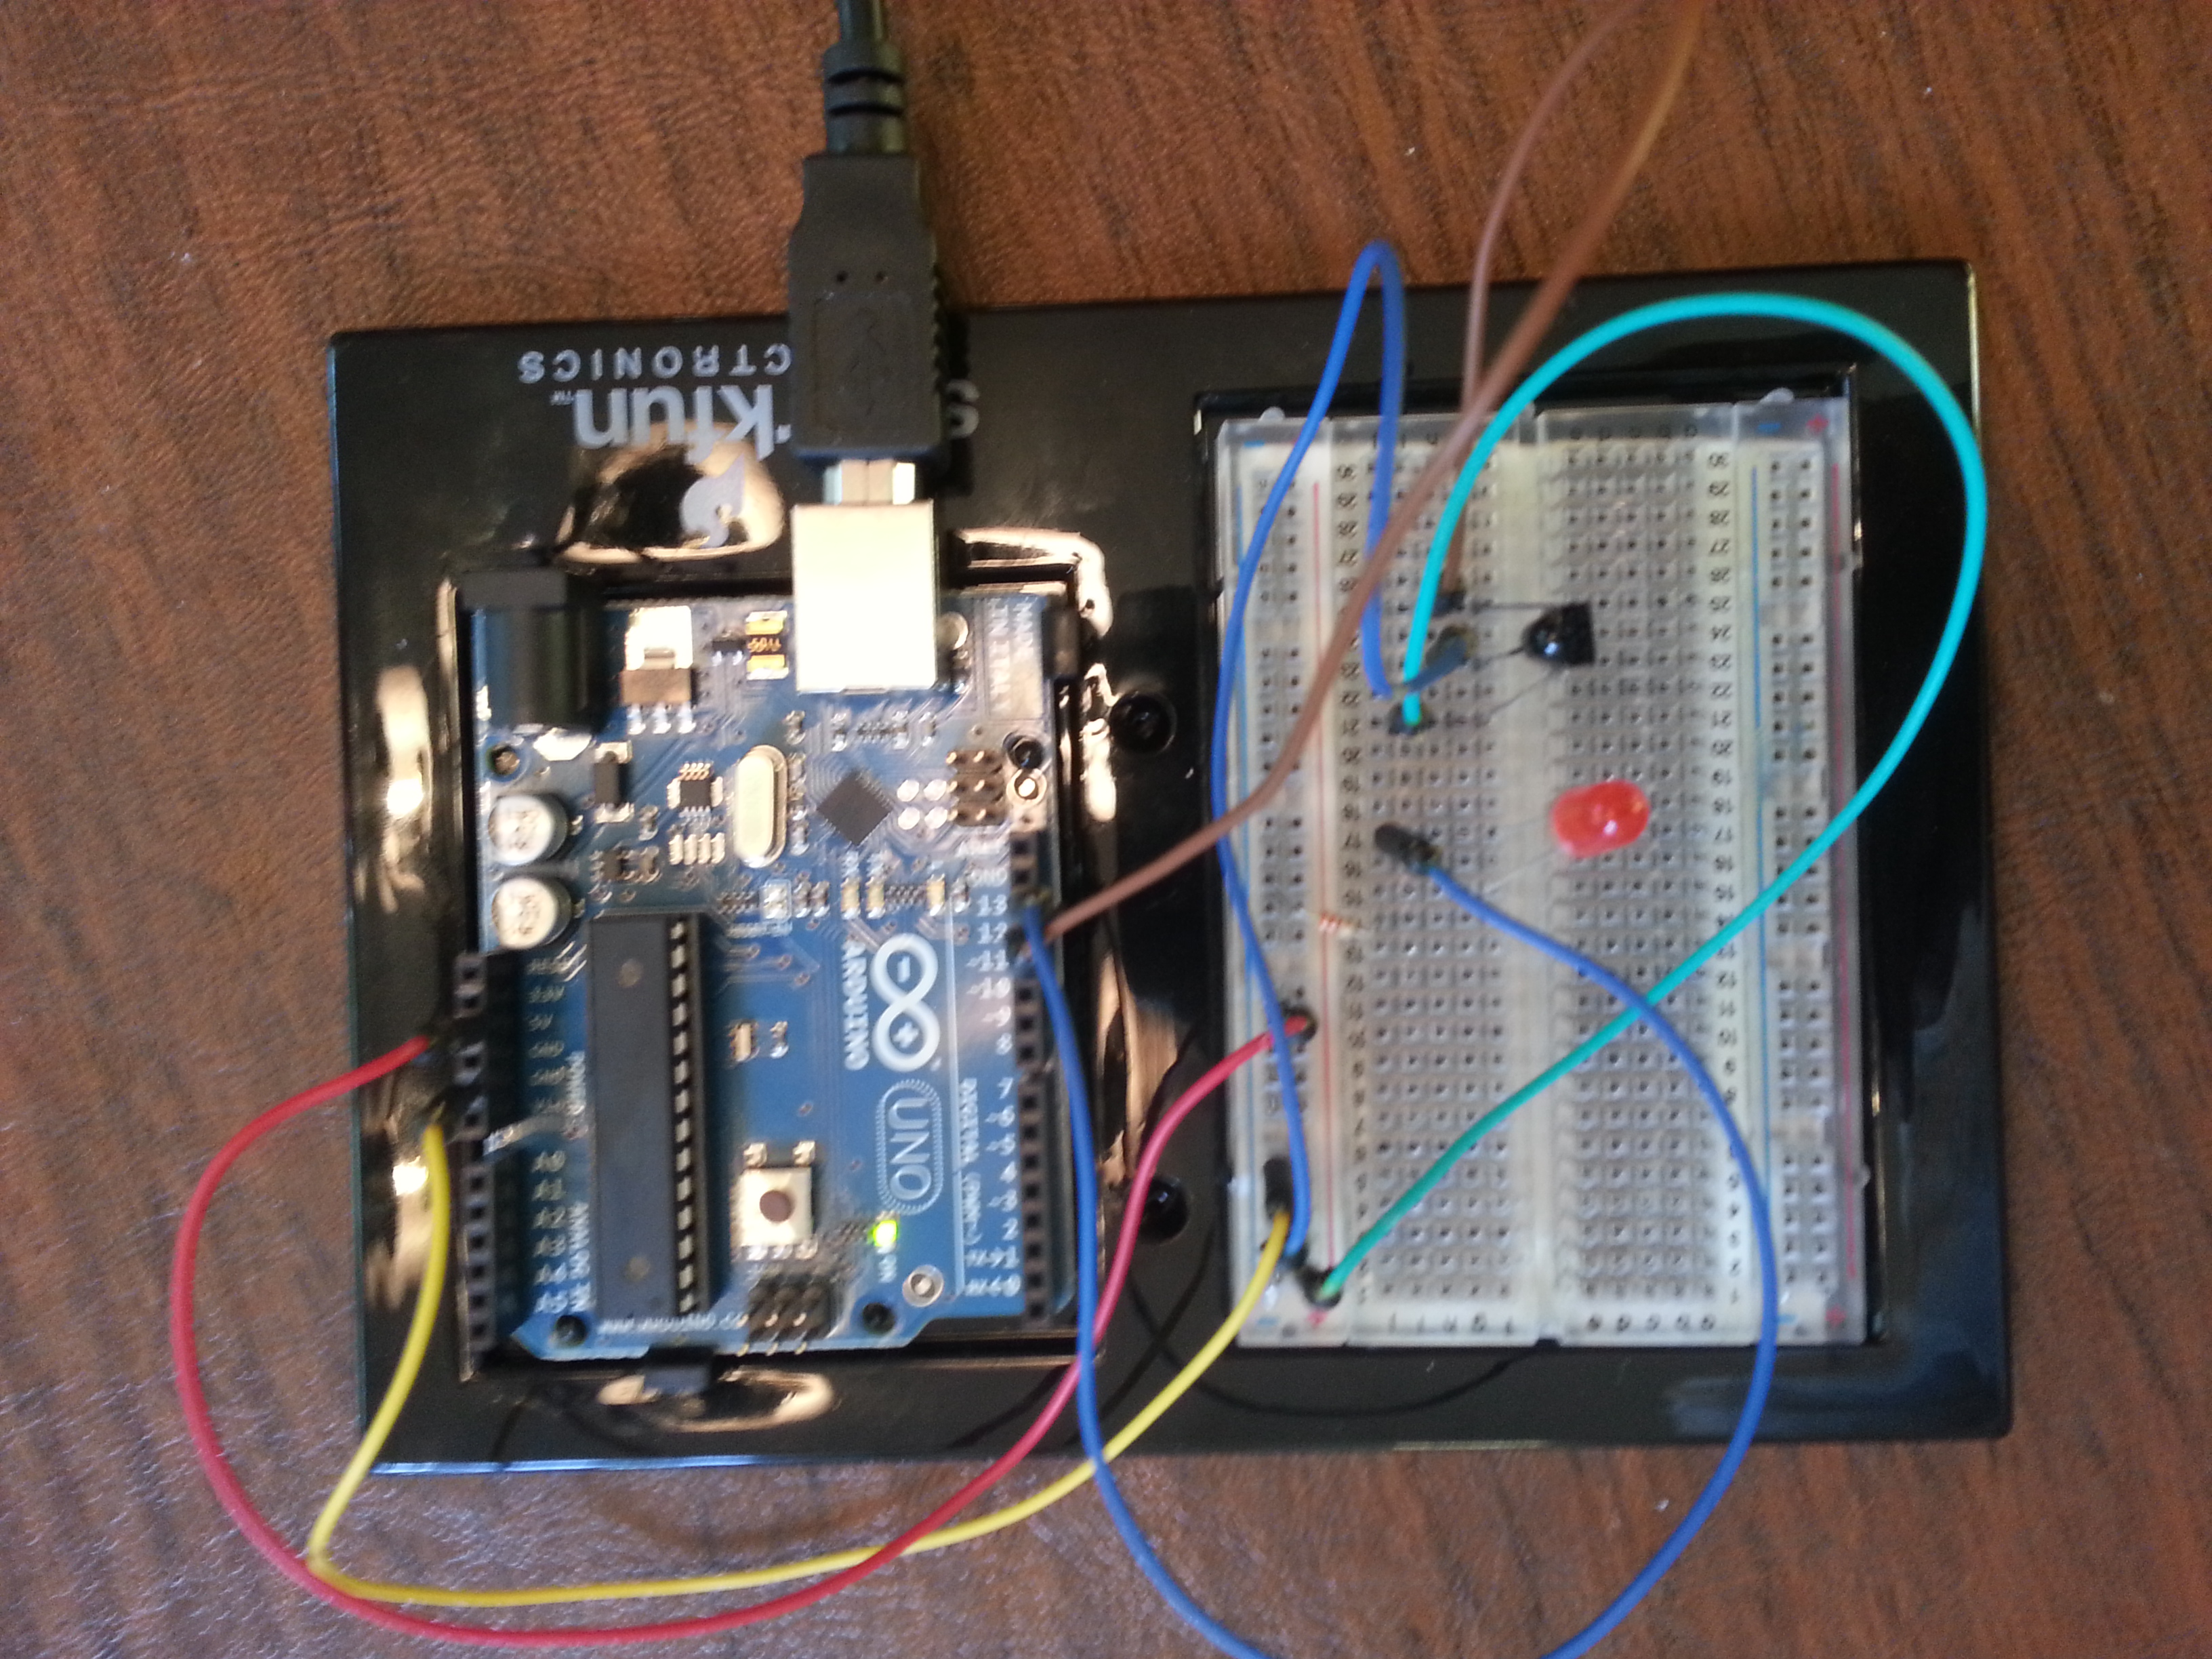
The IR receiver I’m using today is a TSOP38238, a common and inexpensive sensor I bought over at Foxytronics.com. I am also using a Samsung DVD remote control that I found inhabiting the dark inner recesses of the entertainment console. I’m pretty sure that we used to own the matching DVD player but it’s long gone. I’m also using my Arduino to read the signals and to do something when we receive a signal.
The Adafruit tutorial I referenced above goes into detail on how to read the signals but I found that there is a library out there for the Arduino called Arduino-IRremote. You can download that library here. If you’ve never installed a library for your Arduino, here is a link that explains how to do so.
Okay, now that we’re ready, let’s make that old remote do something. Here is the code from the library that helped me to determine the signals that each button produced.
/*
* IRremote: IRrecvDemo – demonstrates receiving IR codes with IRrecv
* An IR detector/demodulator must be connected to the input RECV_PIN.
* Version 0.1 July, 2009
* Copyright 2009 Ken Shirriff
* http://arcfn.com
*/
#include <IRremote.h>
int RECV_PIN = 11;
IRrecv irrecv(RECV_PIN);
decode_results results;
void setup()
{
Serial.begin(9600);
irrecv.enableIRIn(); // Start the receiver
}
void loop() {
if (irrecv.decode(&results)) {
Serial.println(results.value, HEX);
Serial.println(results.value);
irrecv.resume(); // Receive the next value
}
}
Compile this sketch and upload it to your Arduino. Then open the serial port by going to Tools > Serial Monitor.
When you press a button it will output the number that corresponds to that button. As you can see in the image to the right, the power button on my remote uses 5DB070, the hexadecimal number that is equal to 6140016. I then went on and got the numbers for a few more buttons.
Here is the code I am using to output to the serial monitor when I press a button. I connected an LED to the Arduino and set it up so that when I press the power button it turns an LED on. This code can be re-purposed to turn on the motor of a robot, or whatever you want it to do. See the video below to see how it works.
/*
* Infrared Demo – MakerDaddy.com
*
* Based on -IRremote: IRrecvDemo – demonstrates receiving IR codes with IRrecv
* Copyright 2009 Ken Shirriff
* http://arcfn.com
*/
#include <IRremote.h>
int RECV_PIN = 11;
IRrecv irrecv(RECV_PIN);
decode_results results;
int powerPin = 13;
void setup()
{
Serial.begin(9600);
irrecv.enableIRIn(); // Start the receiver
pinMode(powerPin, OUTPUT);
}
void loop() {
if (irrecv.decode(&results)) {
int val = results.value;
switch(val){
//case -20368:
case 6140016:
Serial.println(“Power!”);
digitalWrite(powerPin, !digitalRead(powerPin));
break;
case 2540318324:
Serial.println(“OK”);
break;
case 863171952:
Serial.println(“OK up”);
break;
case 804958676:
Serial.println(“OK down”);
break;
case 2154561038:
Serial.println(“OK left”);
break;
case 3001146954:
Serial.println(“OK right”);
break;
}
delay(50);
irrecv.resume(); // Receive the next value
}
}